Kaskadian's 150w Hps Growbox

  • Thread starter Kaskadian
  • Start date
  • Tagged users None
Kaskadian

Kaskadian

333
93
Evening all,

I decided to go ahead and get started on this thread a little bit earlier than I had originally planned; I wanted to be able to keep a build diary for both you guys & myself. This thread will be a work in progress but I hope you guys will check in from time to time. Ideally I'd like to make progress as quickly as possible, but sometimes life gets in the way. I'll do my best to update this thread as often as possible.

I'd like to start things off on a personal note; this cabinet is dedicated to those who taught me much of what I know about micro growing and growing in general. In particular I feel it necessary to mention mtnjohn, and pieceofmyheart; they've both been mentors, inspirations, and above all, friends. There have been many others that have helped me over the years, far to many to name. I'd also like to thank all of my new friends here at thcfarmer, and old friends from OG/HG420.

Let's get to it!

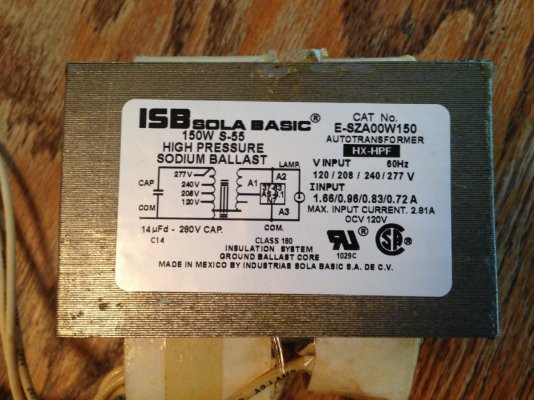
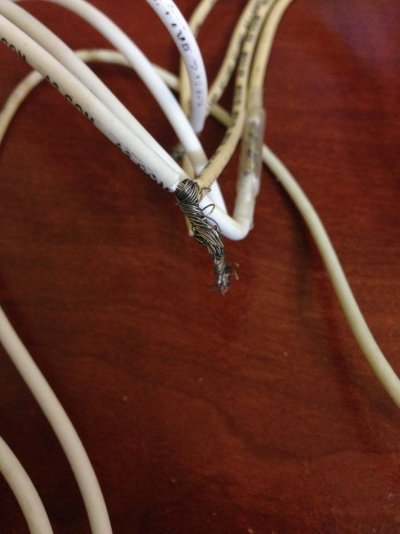
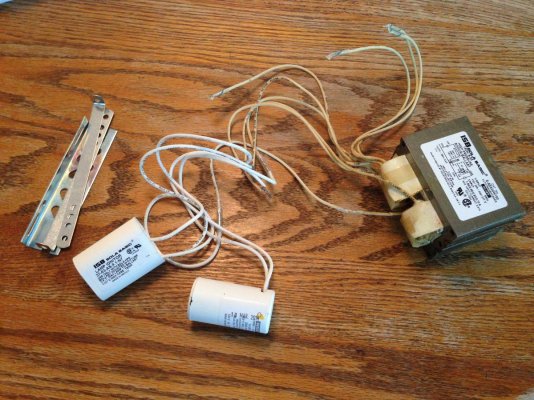
This new cabinet will be using a 150w cooltube HPS. I'll be wiring up my own lighting for this cabinet and as suggested by @tobh I will be making a separate thread with a tutorial on wiring your own lighting. I'll post that tutorial up after I get it written up start to finish. Below you'll see pictures for the ballast, ignitor, and capacitor. More parts are needed to wire up the lighting, so I will go into further detail later as I'm getting it all wired up. The wiring you see on the pictures is just to show which wires need to be wired together. I decided to wire up my own lighting because it's cheap and fun. An entire HPS system can be built for under $100 in most cases.

Right now I'm thinking about 36" tall x 28-30" wide x 18-20" deep; this may change as I begin building. I will mostly be scrogging in this cabinet, so after I make a few measurements I'll let you all know what dimensions I planned to go with.

All questions, comments, insults, etc are welcome. Next update coming ASAP. I should be making measurements and making the first cuts before the end of the week.

Kas
Ballast1 Ballast2 Ballast3
 
Kaskadian

Kaskadian

333
93
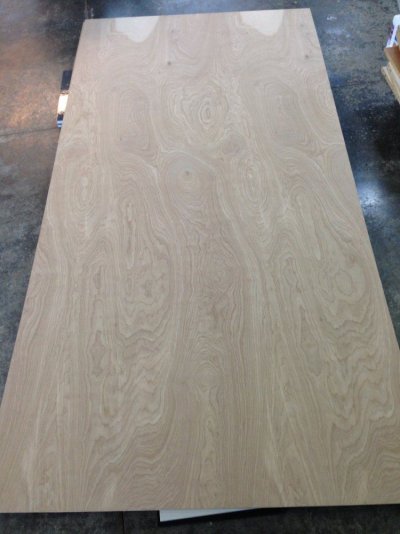
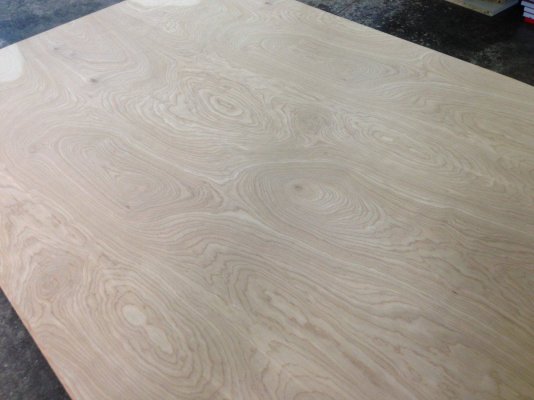
I went ahead and picked up the wood and a few other small supplies today. If I get time, I plan to make a few cuts before bed. I chose high quality finishing (aka "furniture grade") plywood. I chose it for the beautiful wood grain, durability, and cost. After I get this cut I will start staining & painting the wood. I'm not sure which color stain I will be using yet; I'm thinking either a light mahogany or cherry. I want this wood grain to really shine through. More updates ASAP.

Wood1 Wood2
 
Kaskadian

Kaskadian

333
93
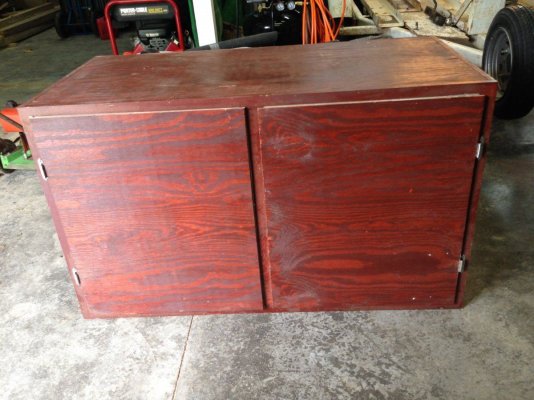
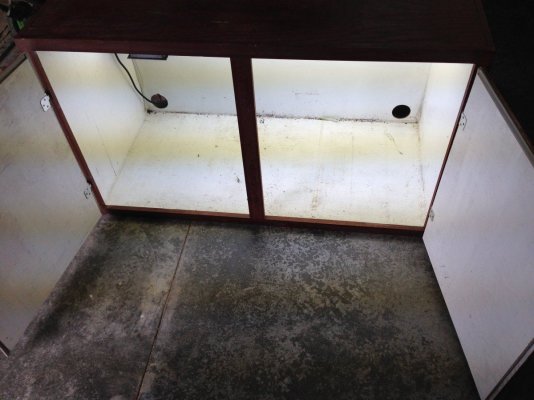
Also for shits n' giggles, I pulled out an old veg/mom cabinet I build many years ago. It's been mostly gutted, and it's dinged up and dirty as all hell from sitting in a garage for a couple years. It's missing its intake, and the bulbs need to be swapped. I thought you guys might get a kick out of seeing it. I plan to refinish this someday. She used to be my garage queen.

Veg1 Veg2
 
Kaskadian

Kaskadian

333
93
First cuts done tonight! I cut the two sides and the back. I'm still debating on how I want to design the door, so I'll have to get to that tomorrow. So far the cuts went off without any major problems. I found one section of the plywood that had a gap due to manufacturing, but I tossed that piece aside and cut a new one.

Official dimensions are 36" (91.4 cm) tall x 24" wide (60.9 cm) x 20" (50.8 cm) deep.

Next set of updates coming ASAP.
 
IMG 3260
Side1
Back1
Kaskadian

Kaskadian

333
93
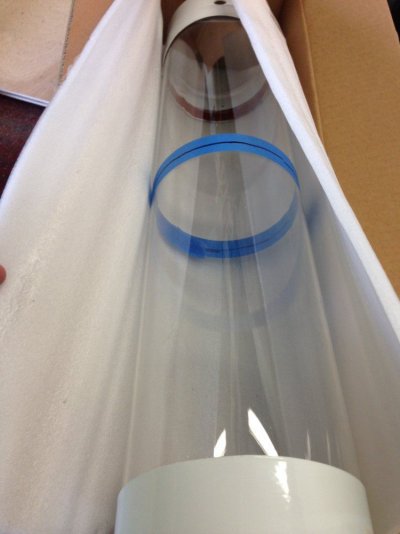
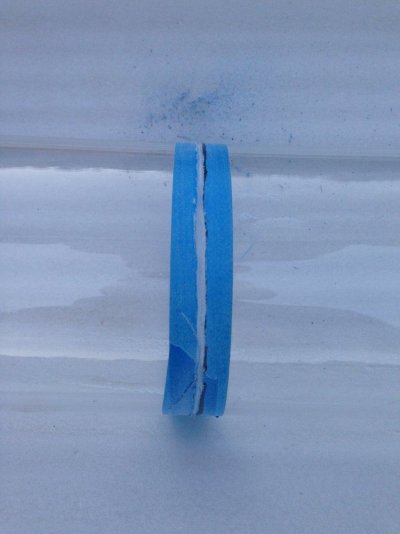
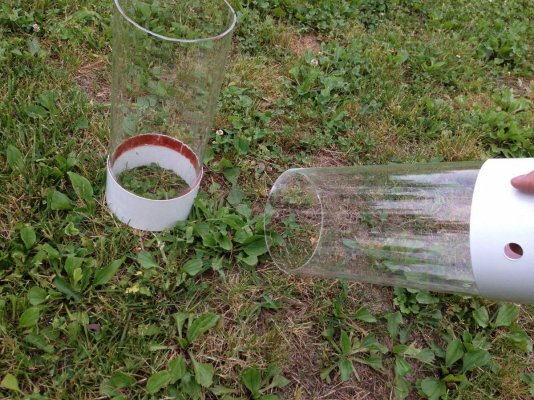
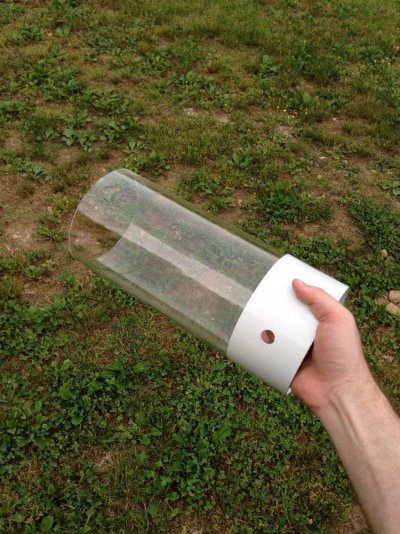
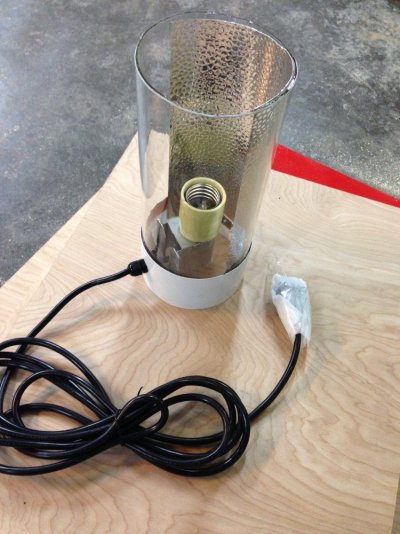
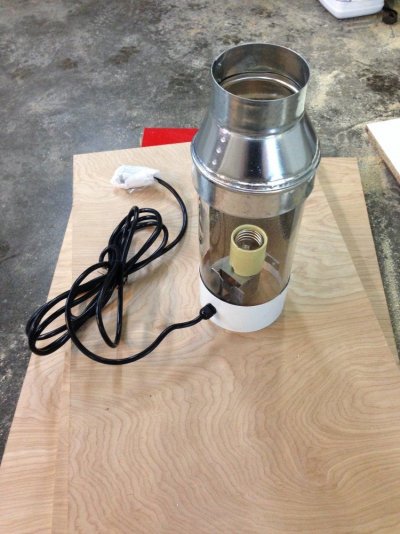
I had a left over cool tube that wasn't being used. I decided to careful cut it to make it small enough for my new cabinet. Hey now... don't get mad... it was a cheap-o that wasn't being used anyway. I will be connecting a reducer to the cut end and taking it from 6" to 4" for ventilation. I'll upload pictures of the finished lighting soon.

Ct1 Ct2 Ct3 Ct4
 
Last edited:
Kaskadian

Kaskadian

333
93
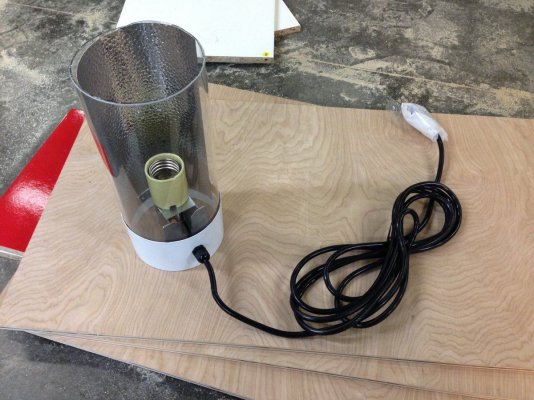
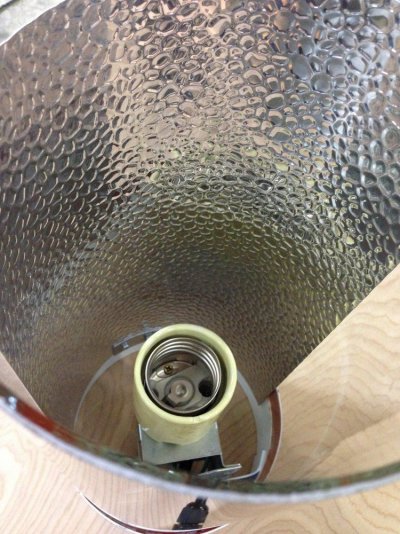
I promise I'm not trying to post whore here. I'm trying to keep the build log as up to date as possible. Since cutting the cooltube, I've rewired it and added some reflective goodness; I'll look prettier once everything has been completed.

Tomorrow I will be doing the following:

  1. Adding a reducer onto the cooltube in preparation for doing ventilation/installation.
  2. Installing the mounting hardware onto the cooltube.
  3. Making ventilation cuts.
  4. Starting the staining/painting (post-cutting).
Cheers!
Ft1 Ft2 Ft3
 
Kaskadian

Kaskadian

333
93
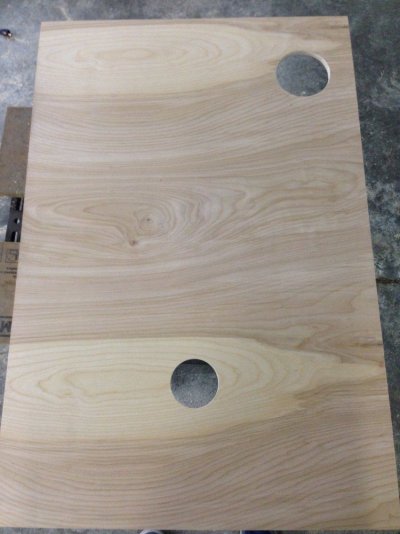
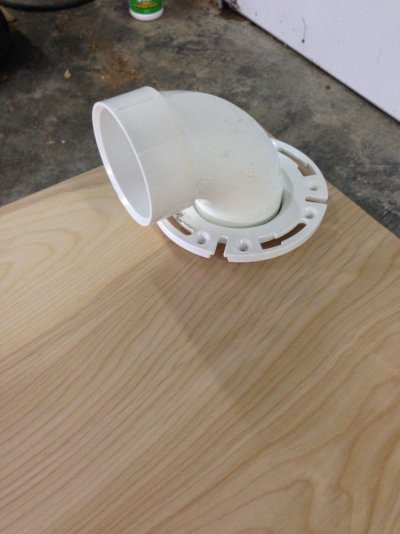
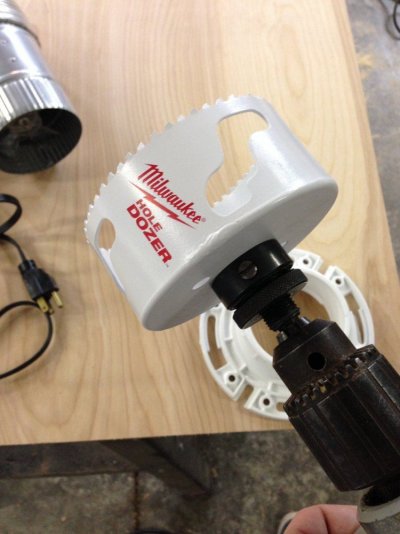
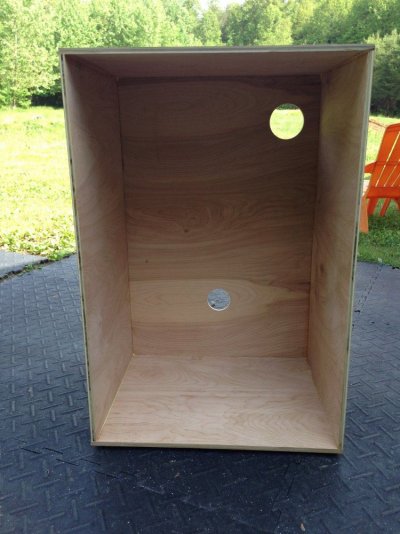
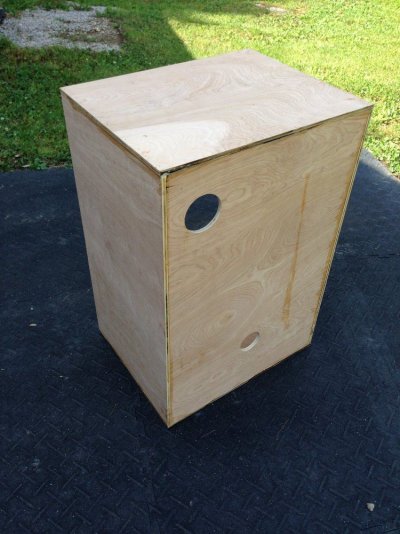
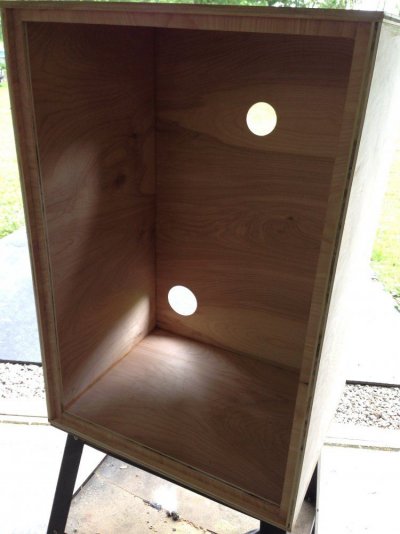
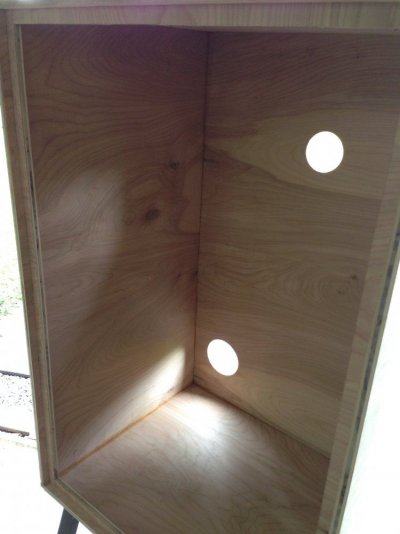
Only a small update tonight. I went ahead and started cutting holes for the exhaust & intake. Tomorrow I may be assembling the cabinet. After getting everything assembled I can then focus on staining/painting completed. I'll also be drilling out the holes for the door handle. I will be adjusting the exhaust to prevent any hangover from the scrubber. After the staining/painting has been completed I will begin installing the light, fan, and other final goodies.

The top cut is the exhaust and I'll be using a 4" ducting fan for this. The bottom hole is a 3" intake hole. I will be rigging something to to prevent light from entering/exiting the cabinet via the intake. The flange on the back isn't in it's final position, I was giving it a fitting test. Once it's in position it will sit flush and be screwed into.

Back1   Copy Back2   Copy Back3   Copy Back4   Copy
 
Kaskadian

Kaskadian

333
93
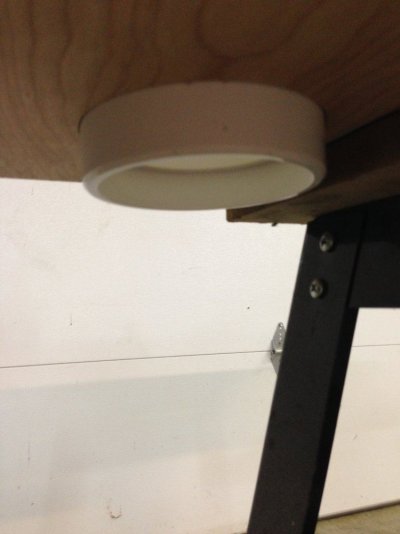
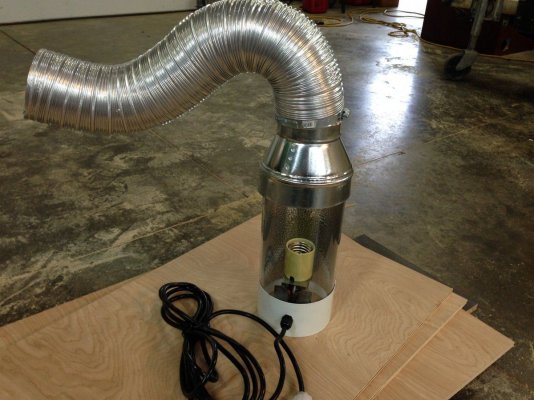
I will also be fitting the reducer onto the cooltube. The pictures below show a rough fitting with some loose ducting. It'll be trimmed back and fitted to verify that the reducer doesn't cover any part of the light. It's already been measured and I can confirm that the light will not be obstructed in any way.

Cheers

Lite1   Copy Lite2   Copy
 
Kaskadian

Kaskadian

333
93
Evening everyone,

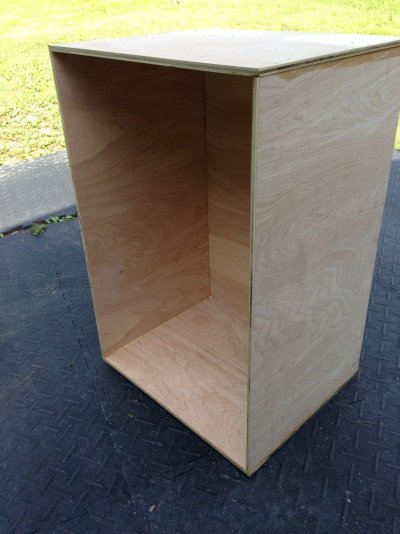
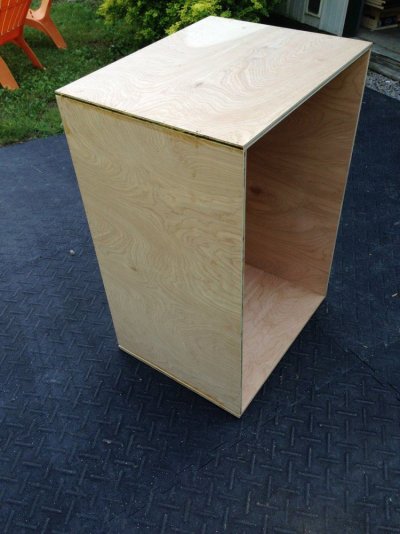
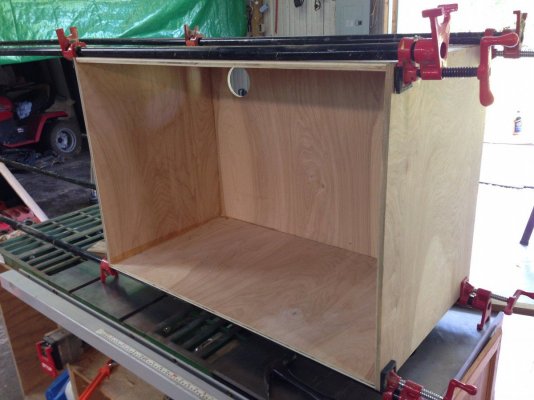
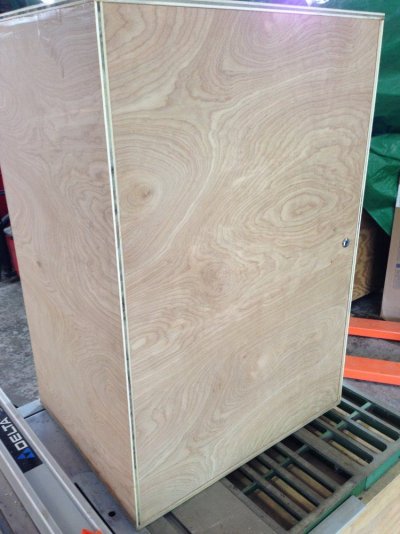
I've got another quick update for you all. Today I glued & nailed the back, sides, top, and bottom. After gluing & nailing the parts, I used homemade vices to squeeze the boards tight to assist in the glue setting. I still need to made a couple of small cuts, but it's starting to come together. You'll notice a few dark marks on the wood in this state; this is primarily drying wood glue. I will be sanding everything down to remove any imperfections, dirt/glue, etc. Not long and I will begin sanding, staining/painting, and afterword I will be getting the goodies installed.

Cheers,
Kas
P1 P2 P3 P4 P5
 
Kaskadian

Kaskadian

333
93
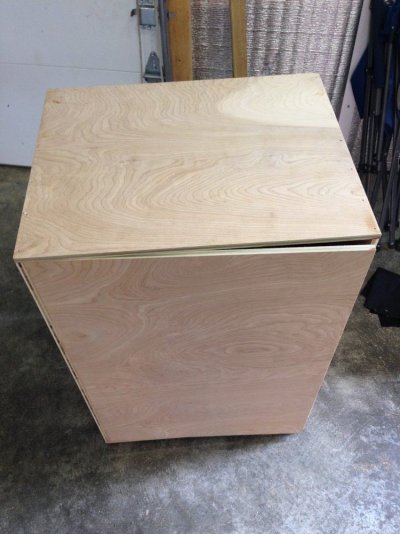
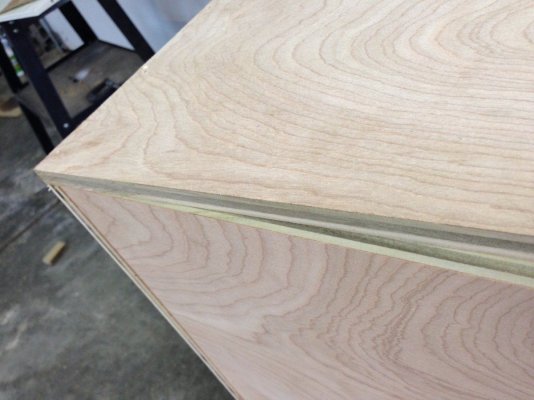
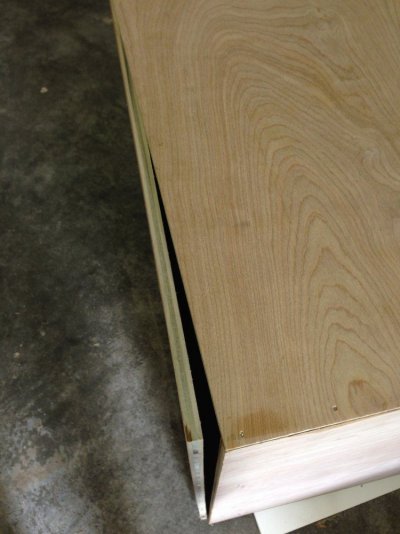
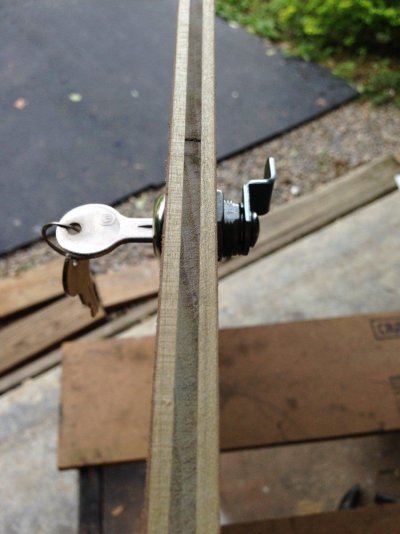
I cut the basic outline for the door today. I've decided that this door will actually close up inside of the cabinet to minimize size & help further reduce light/sound leaks. In addition to closing inside of the cabinet, the door will also use internal hinges and I will be building a frame around the opening that the door will back up against (internal). I am also installing a locking system that will not only help keep the door shut from everyone but my wife & myself, but also help the door to be held tightly in place to avoid any cracks letting light out. This is all done to keep things stealthy. The door still needs to be sanded to get a perfect fit, but the wheels are in motion. I will get the internal frame glued/nailed today. Tomorrow I will drill the holes for all of the hardware (fans, cooltube, hinges, lock, etc), and should be able to get started sanding/painting/staining. I will also be installing trim for all the edges, places with nail holes, etc.

Unfortunately I've not had enough time to put multiple hours into this cabinet daily; because of this progress is slow. Stay tuned. :)

D3 D2 D1
 
Kaskadian

Kaskadian

333
93
Hey everyone,

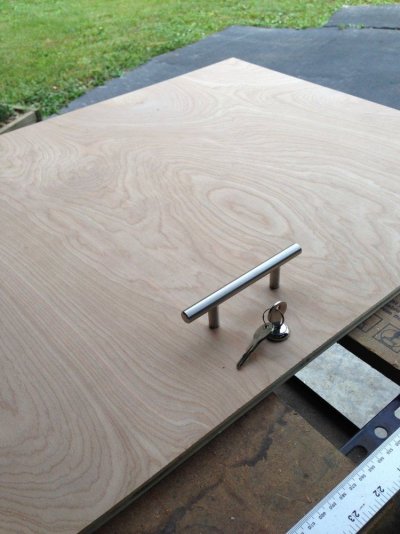
This may be the last update for a few days. Today was a decent day for progress; I drilled the holes for the door handle, lock, and installed the internal door frame. The door will be backing up to the internal frame and there will be additional light proofing such as foam between the door & frame. I mentioned before that I plan to install internal hinges; I may have to re-evaluate how I want to do that. It's definitely doable with the internal frame, but I may just opt for external hinges for simplicity sake.

Next up... sanding out imperfections, and staining/painting.

Cheers,
Kas

Door1 Lock1 Frame1 Frame2 Door2
 
Kaskadian

Kaskadian

333
93
Evening everyone; I wanted to take the time and plug a friend's thread in here. I mentioned in my initial post that mtnjohn has been a mentor, inspiration, and friend. Much of what I'm doing with my cabinet was based off of ideas that I received from mtnjohn's cabinet, and from conversations with him. I encourage everyone to take a look at his cabinet; especially those who are interested in building their own cabinet. I verified that adding this link into the thread was acceptable prior to adding it here.

mtnjohn's growing cabinet
https://www.icmag.com/ic/showthread.php?t=49829

New updates should be coming up tomorrow.

Cheers,
Kas
 
Kaskadian

Kaskadian

333
93
Sorry for the lack of updates; I had some unexpected family issues and had to be out of town. I'll try to update this thread as soon as possible.
 
Top Bottom