Y
Yamon
- Posts
- 61
- Reactions
- 112
- Joined
- Oct 26, 2025
- Points
- 33
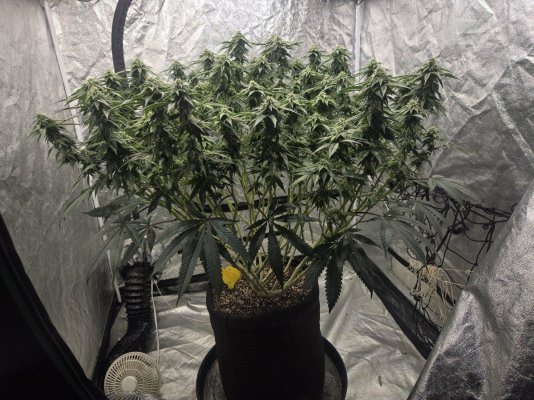
Hi everyone. Just joined the forum today. Here's some pics taken today of my current grow. Day 18 of flower.
48-in diameter canopy in a 4x4 tent.
I'm using Bridgelux Vero 29 COB's. Meanwhile drivers pushing 52 volts times 1.75 amps = 91 w per COB x 9 COB's.
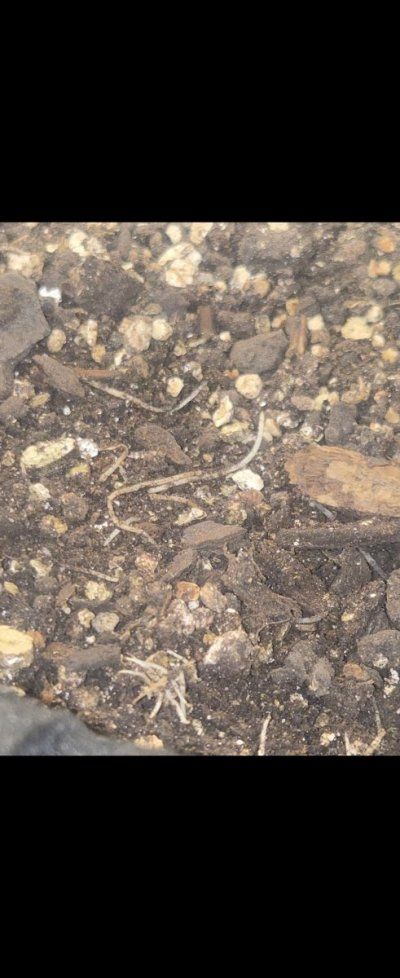
10 gallon fabric pots with living soil.
Amended with Gaia Green dry amendments. 444 in veg and 284 in flower. I also use Neptune's harvest liquid organic fish and seaweed based liquid fertilizer (awesome stuff).
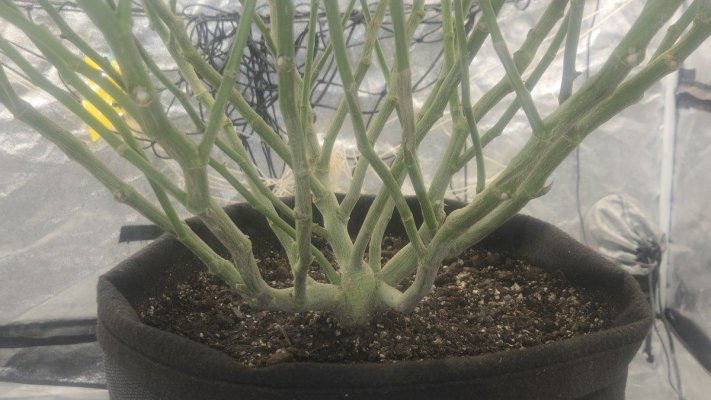
My last grow I did same size plant but used a scrog. Scrogs are okay but I'd rather grow the way I have in this grow because I can rotate the plant. So much better compared to a scrog. In fact the plant can even be lifted and put on a stool so to work underneath. It's at eye level.
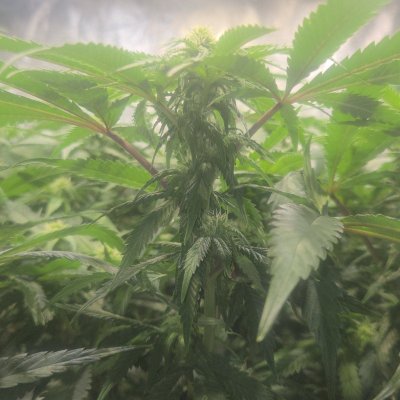
Here is some pics from today.
Having so much fun
48-in diameter canopy in a 4x4 tent.
I'm using Bridgelux Vero 29 COB's. Meanwhile drivers pushing 52 volts times 1.75 amps = 91 w per COB x 9 COB's.
10 gallon fabric pots with living soil.
Amended with Gaia Green dry amendments. 444 in veg and 284 in flower. I also use Neptune's harvest liquid organic fish and seaweed based liquid fertilizer (awesome stuff).
My last grow I did same size plant but used a scrog. Scrogs are okay but I'd rather grow the way I have in this grow because I can rotate the plant. So much better compared to a scrog. In fact the plant can even be lifted and put on a stool so to work underneath. It's at eye level.
Here is some pics from today.
Having so much fun
Attachments
-
 my-grow-first-post-hi-just.jpg110.1 KB · Views: 2
 -
 my-grow-first-post-hi-just-2.jpg183.8 KB · Views: 2
 -
 my-grow-first-post-hi-just-3.jpg246.6 KB · Views: 2
 -
 my-grow-first-post-hi-just-4.jpg98.3 KB · Views: 4
 -
 my-grow-first-post-hi-just-5.jpg137.2 KB · Views: 3
 -
 my-grow-first-post-hi-just-6.jpg248.2 KB · Views: 5