
Y
Young_ogkush
- Posts
- 20
- Reactions
- 23
- Joined
- Jan 17, 2022
- Points
- 3
What's up farmers. New here and wanted to document my first proper seed to harvest grow. I say that because I've grown in the past but never made it to harvest. I have helped growers before and have lived with one so I'm not a complete newbie.
A couple of things first: I started the grow in December 2021 and am switching to flower tomorrow. I never planned on putting it online but alas here we are. I'm growing as natural as possible in the limited space I have to work with in my small apartment.
Here's a list of things I'm using for this grow:
- Balkh heirloom seeds from Afghan Selection
- Atreum Lighting Hydra-1000 LED Grow Light
- AC Infinity Cloudlab 422 Grow Tent (2'x2'x4')
- Lasko 6" Clip Fan
- 3 Grassroots Living Soil Fabric Pots (3 gallon)
- 1 Grassroots regular Fabric Pot (15 gallon) for mixing soil
- Sta Green Organics Coconut Coir (leftover from last grow attempt)
- Oly Mountain Fish Compost (2 gallons)
- Atlantic Bay Organics Earthworm Castings (8 Pound Bag)
- Red Lava Rock (Scoria) from Volcanterrico on Ebay
- 3"x4" bags of Atlantic Bay Organics Fish Meal, Kelp Meal, Crab Meal, and Alfalfa Meal
- Build-A-Soil Mineral Kit for Coco Coir (Basalt, Gypsum Dust, and Langbeinite)
That's about it for now. I will be ordering an AC Infinity Cloudline Filtration Kit soon before any crazy odors come up. Honestly the tent smelled crazy just from mixing the soil up lol Living soil is potent for sure.
Will be uploading pics and giving more details on each item used. Stay tuned and thanks for checking this out


 I had to do it).
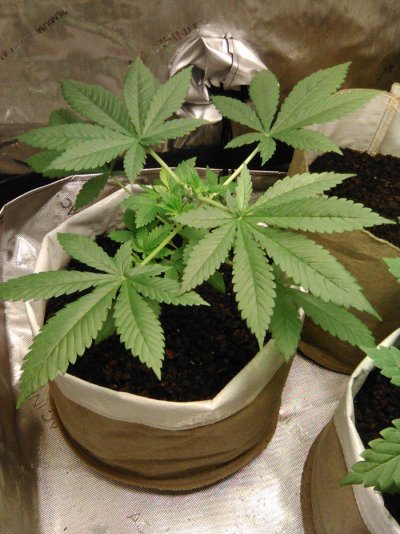
 ) who collect local seeds. Many sites have their seeds though and in my not so ideal set up I have gotten 3/5 seeds to germinate. This run I planted 3 and these 2 soldiers I got made it through the soil.


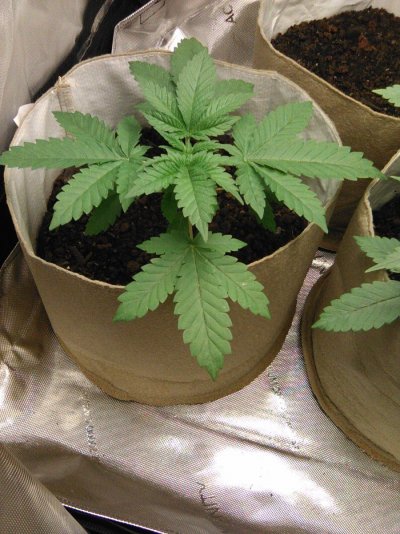

 Never ran any afghan selection should be interesting. Cheers


 ) I also took better pics of the tea I made that continues to ferment and stink lol that shit is strong
 .
.
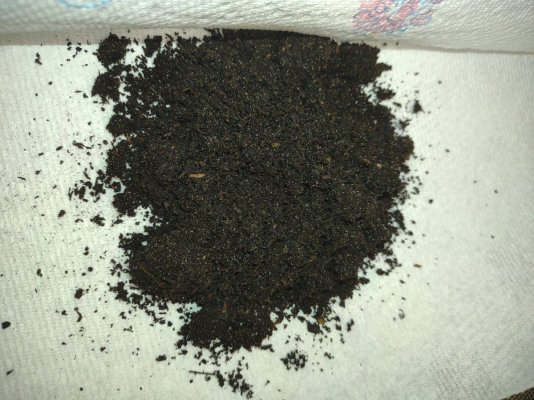


 . I added these after I mixed the soil up in the 15 gallon pot. I mixed these in and hydrated the soil again ( the 10-15% water I used was all added in parts).