BakedReality
Bean Poppin..
Supporter
- 797
- 143
Ok I have been asked for this on a couple of sites and from a few different people...so I will attempt to do a simple build that will work for anyone from newbie to long time grower....
I will start with a simple DWC build...
I start with a basic tote with a lid...this is an example of a tote I used for my own personal preferences and the footprint...it worked for my situation. Don't get stuck on the tub...like I said the tub comes down to personal preference...

These are the only tools you will need for this build...I use a 3" Hole Saw...this creates a perfect hole for the 3.75" Net cups...which I use throughout my entire garden...this way plants can be moved freely...

First I start with the main hole for the plant...there are many configurations you can do...we will look at this single hole for a simple example...so I drill out the center with the hole saw...

One more reason I pick this particular tote is under the lid it has this convenient hole that I will use to run my airline thru...these are things to look for to make things simplier and cleaner looking...


The hole on this tote here for my air line is slightly to small to fit a 1/4" air line through...so I drill it out slightly...so I may easily move the airline through...

OK...cruising right along...we are about to add the airline and stone! So I simply push the airline through the hole and attach an airstone. I like the 6" Airstones for this tote...a good spread...

Ok now you want to hook up your airstone to an air pump. This is where people tend to over complicate...any pump is sufficient...whether it is a single outlet small fish tank air pump or a Commercial air pump plumbed with multiple outlets...the point is you want bubble action...to not only oxygenate the water...but to give your nute solution some movement so it does not become stagnet...once you have hooked up the air pump...add your water. I use about 2.5 gallons in this particular tub...

Here is what the finished tote with a single should look like...

Now I will show you the same tote in some different configurations...


Here is some roots grown in this simple tote!...

Here are some examples of different totes used same idea!...


This is to show they are the same idea underneath...

The next build I will show you is actually the way I prefer to run...I only use DWC to test usually or get to know a strain...
I use the Botanicare white flood tables with corisponding lid then use your hole saw to drill out your holes in the lid for the 3.75" net cups...then hydroton or stone and slide your plant right in just like the DWC.
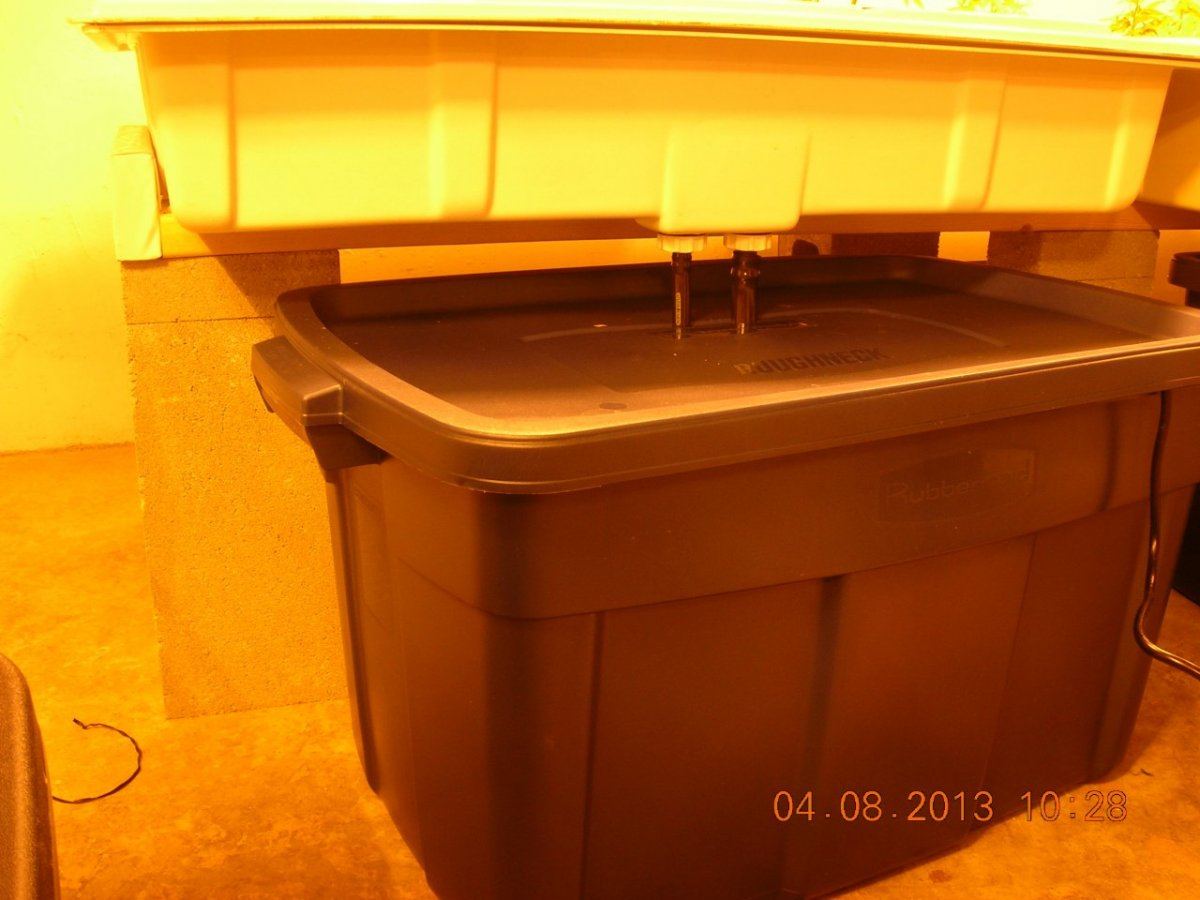
Let's take a quick look from the outside...you see the table with a roughneck under it here...notice the 1/2' and 3/4' hoses...one fill one drain...this is a 3' x 3' Botanicare table...with a 31 gallon Roughneck.
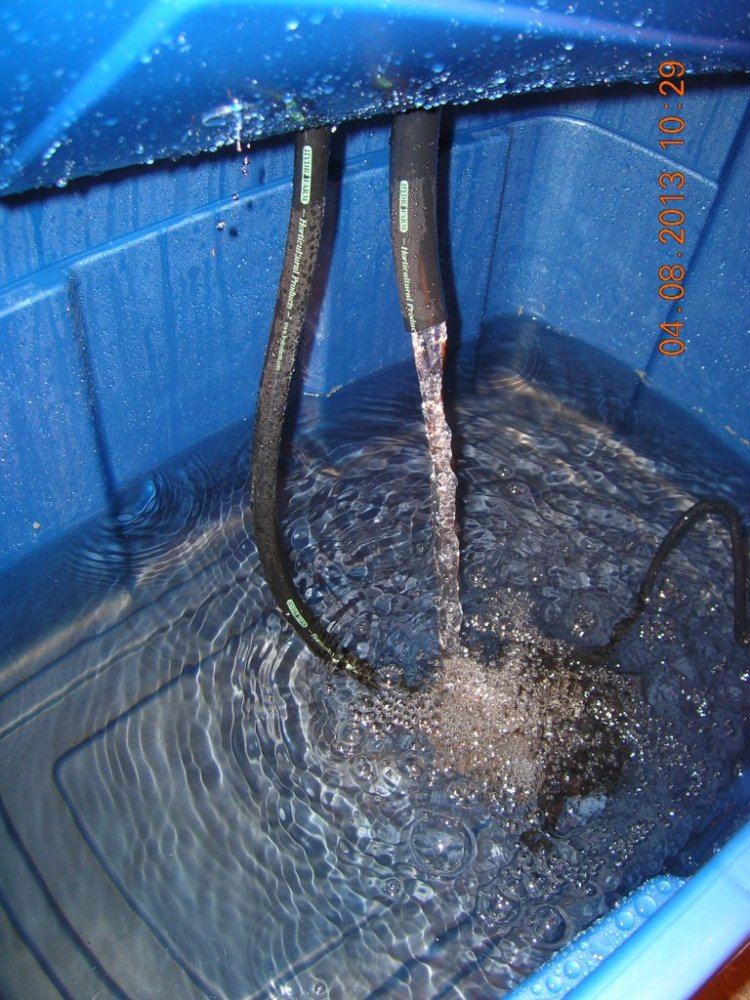
this is what's going on in the ressy/roughneck tote... 396 gph pump running on continuous flow..
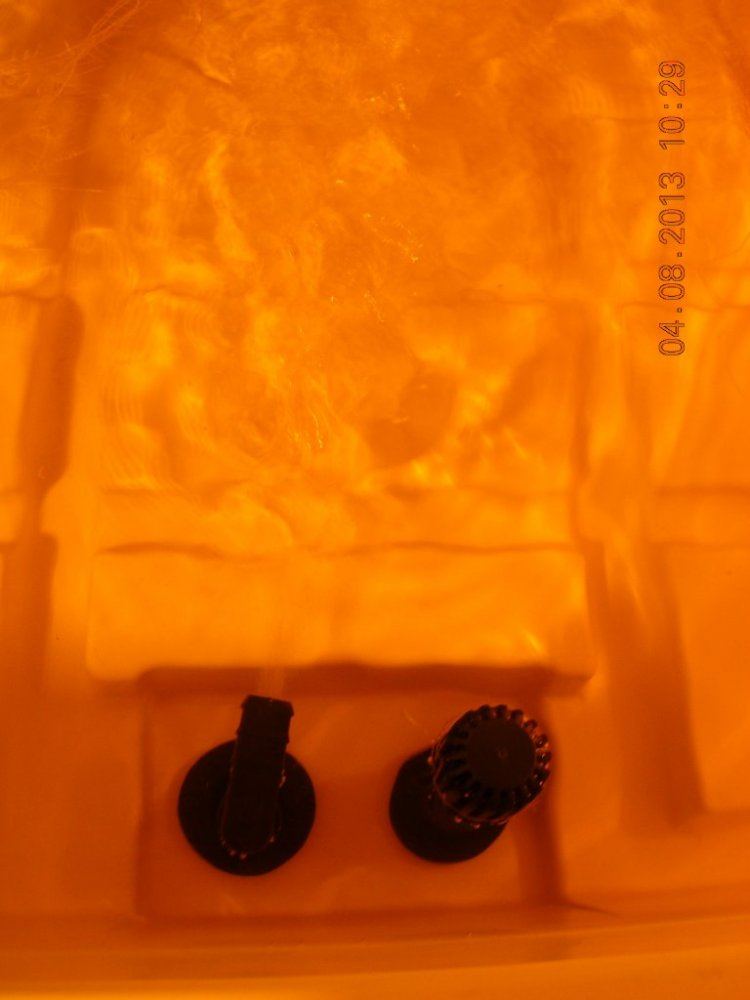
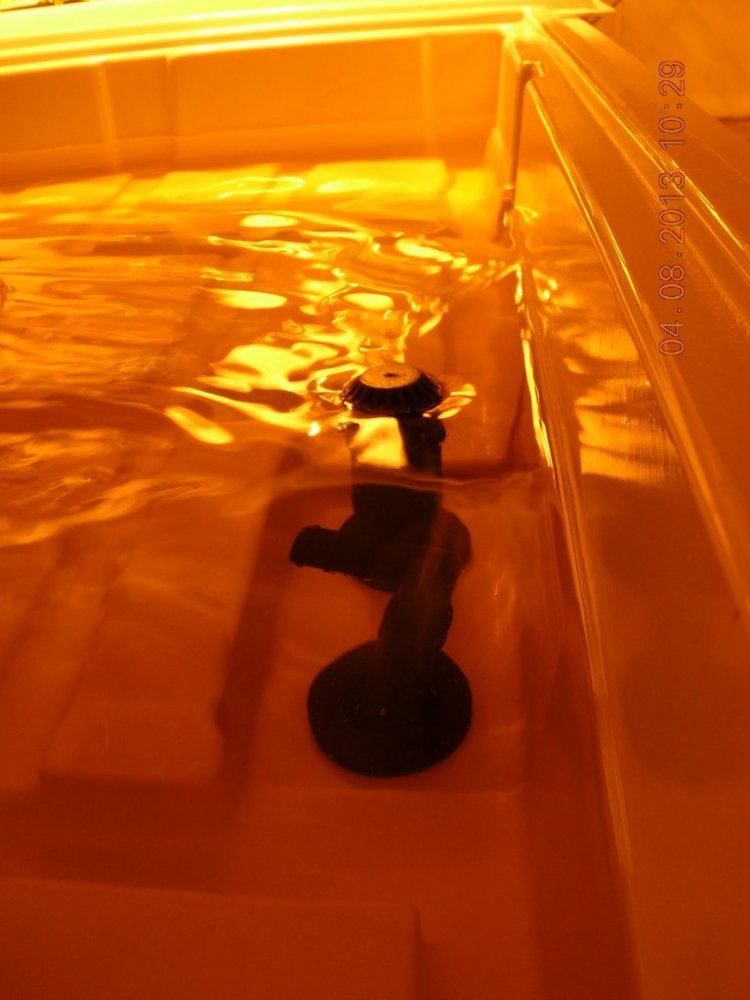
This is what's going on inside the table...if you look at the first pic here...on the right is the drain...the left is water pumping in...now since they are side by side to aide in making sure it's all mixing well I cut a little piece of 1/2" hose and put a 1/2" 90 on it to ensure the pump fires at the back of the table and drains forward. The hoses being up front and side by side just simplifies the water changing process and cleaning for me...
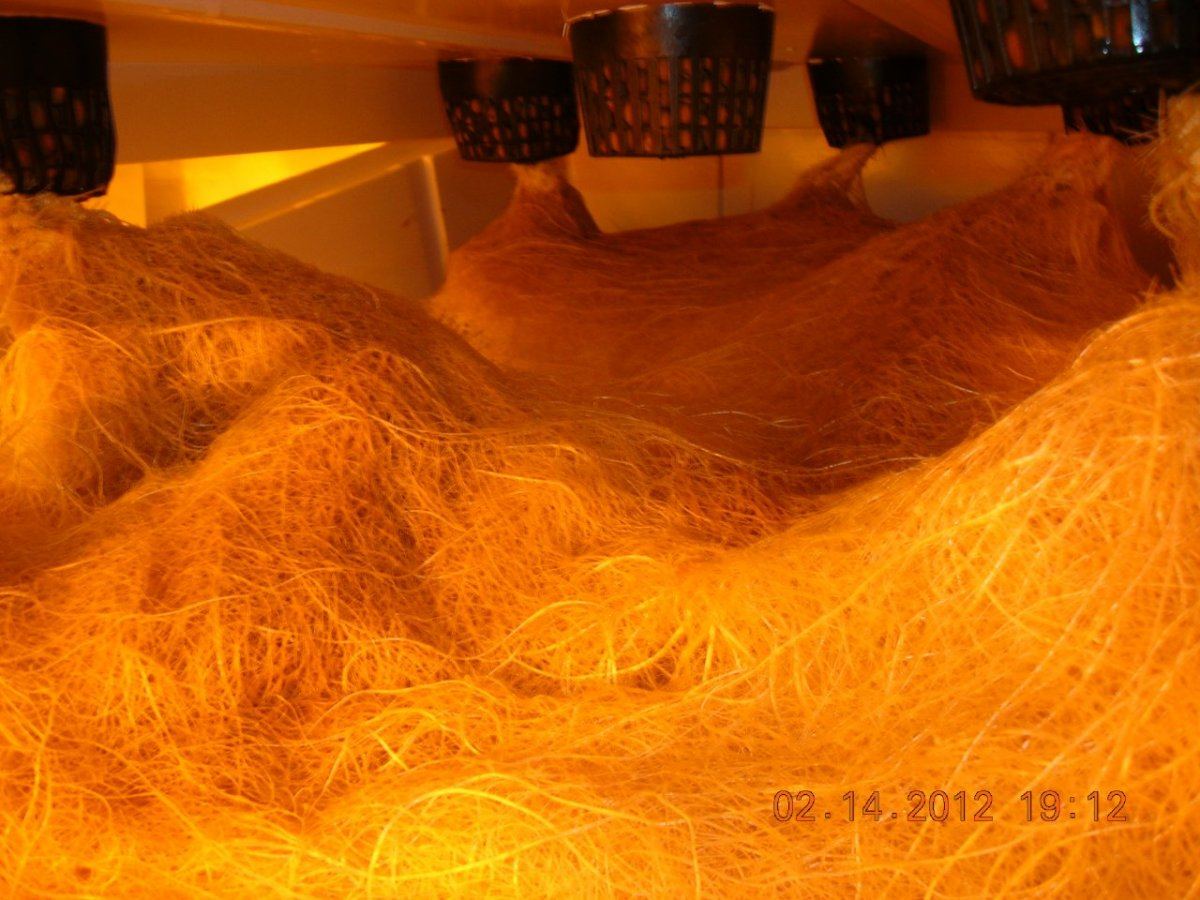
Here is what it looks like under the lid while plants are in the table...
Here is a shot of a root ball after harvest...


A rather simple design...but effective for me! I keep it simple...K.I.S.S.!
I will start with a simple DWC build...
I start with a basic tote with a lid...this is an example of a tote I used for my own personal preferences and the footprint...it worked for my situation. Don't get stuck on the tub...like I said the tub comes down to personal preference...
These are the only tools you will need for this build...I use a 3" Hole Saw...this creates a perfect hole for the 3.75" Net cups...which I use throughout my entire garden...this way plants can be moved freely...
First I start with the main hole for the plant...there are many configurations you can do...we will look at this single hole for a simple example...so I drill out the center with the hole saw...
One more reason I pick this particular tote is under the lid it has this convenient hole that I will use to run my airline thru...these are things to look for to make things simplier and cleaner looking...
The hole on this tote here for my air line is slightly to small to fit a 1/4" air line through...so I drill it out slightly...so I may easily move the airline through...
OK...cruising right along...we are about to add the airline and stone! So I simply push the airline through the hole and attach an airstone. I like the 6" Airstones for this tote...a good spread...
Ok now you want to hook up your airstone to an air pump. This is where people tend to over complicate...any pump is sufficient...whether it is a single outlet small fish tank air pump or a Commercial air pump plumbed with multiple outlets...the point is you want bubble action...to not only oxygenate the water...but to give your nute solution some movement so it does not become stagnet...once you have hooked up the air pump...add your water. I use about 2.5 gallons in this particular tub...
Here is what the finished tote with a single should look like...
Now I will show you the same tote in some different configurations...
Here is some roots grown in this simple tote!...
Here are some examples of different totes used same idea!...
This is to show they are the same idea underneath...
The next build I will show you is actually the way I prefer to run...I only use DWC to test usually or get to know a strain...
I use the Botanicare white flood tables with corisponding lid then use your hole saw to drill out your holes in the lid for the 3.75" net cups...then hydroton or stone and slide your plant right in just like the DWC.
Let's take a quick look from the outside...you see the table with a roughneck under it here...notice the 1/2' and 3/4' hoses...one fill one drain...this is a 3' x 3' Botanicare table...with a 31 gallon Roughneck.
this is what's going on in the ressy/roughneck tote... 396 gph pump running on continuous flow..
This is what's going on inside the table...if you look at the first pic here...on the right is the drain...the left is water pumping in...now since they are side by side to aide in making sure it's all mixing well I cut a little piece of 1/2" hose and put a 1/2" 90 on it to ensure the pump fires at the back of the table and drains forward. The hoses being up front and side by side just simplifies the water changing process and cleaning for me...
Here is what it looks like under the lid while plants are in the table...
Here is a shot of a root ball after harvest...
A rather simple design...but effective for me! I keep it simple...K.I.S.S.!
Last edited: