I'm sure there's tons of other stuff you can look at on this forum but here's a general step by step guide + other instructions:
Equipment you'll need:
- A grow tent. Whatever size you want.
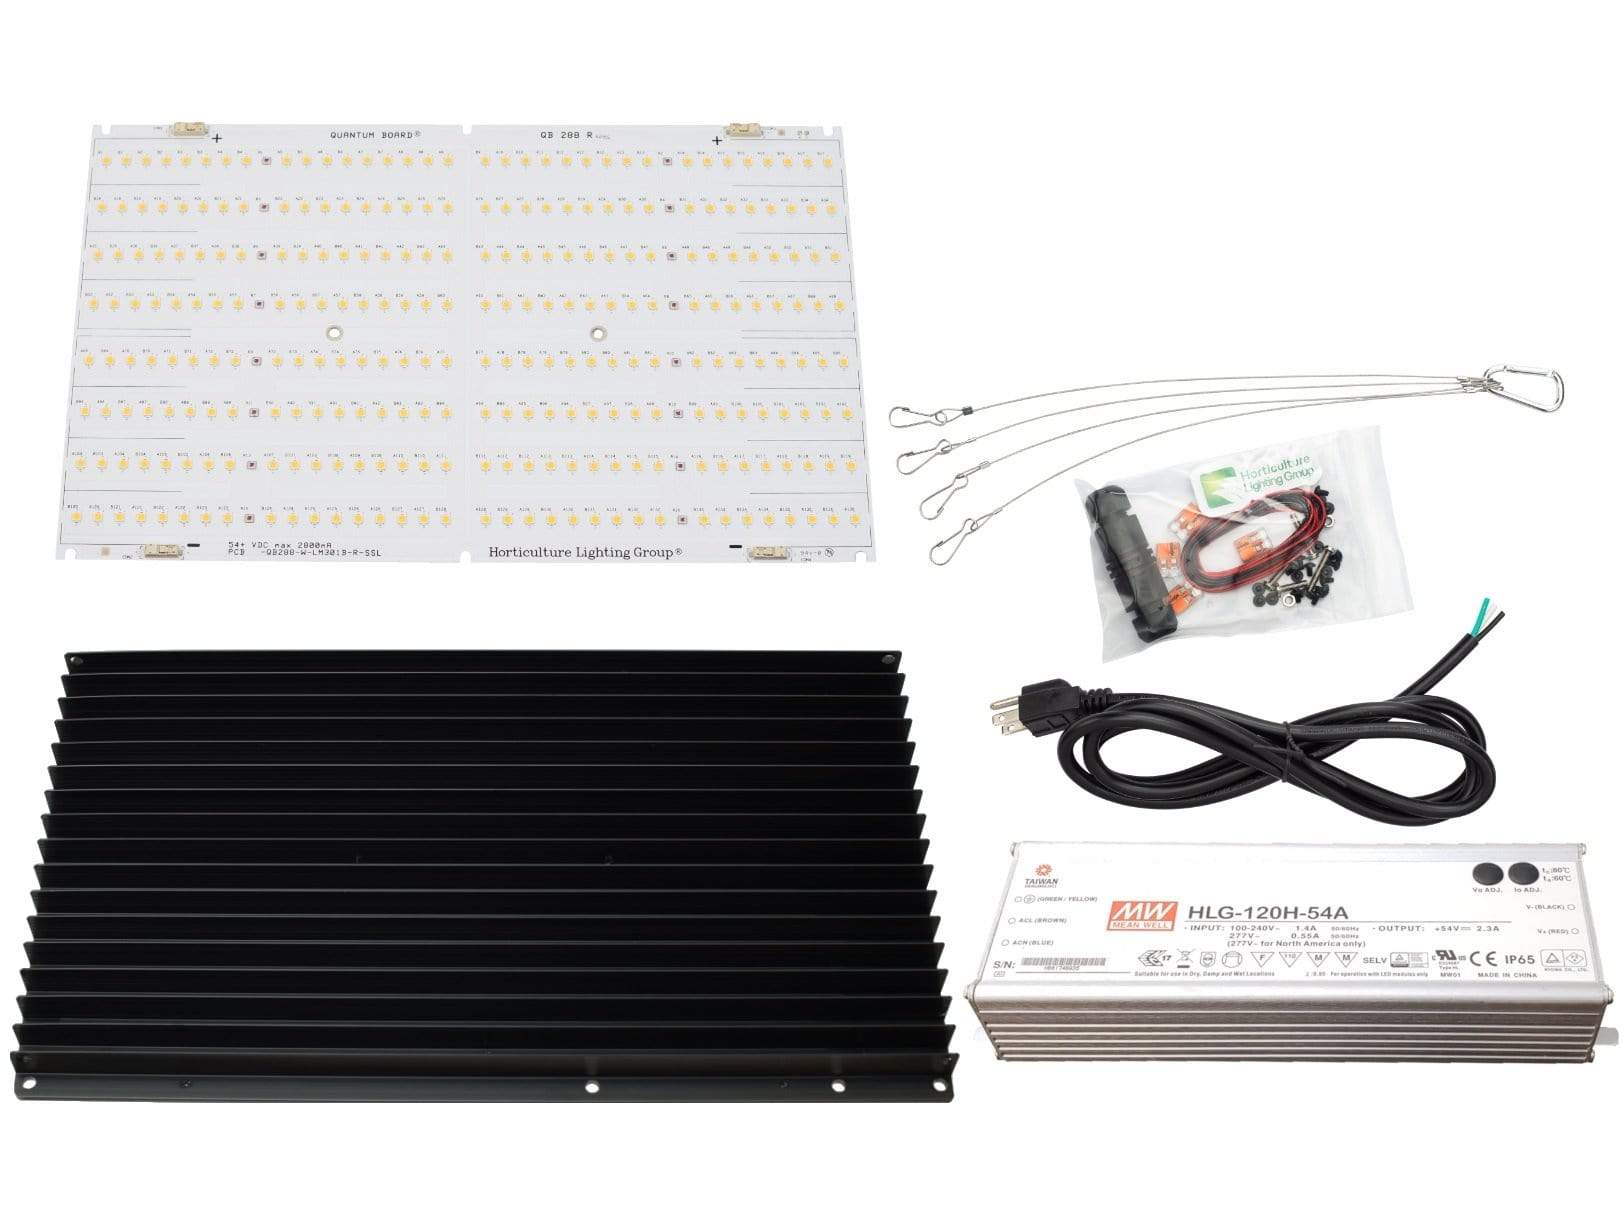
- lights. If you tell me the company of yours, I can tell you if they'll be sufficient.
- A plug timer for your light/s.
- Soil, you mentioned compost but I suggest just buying nutrients. I use the general hydroponics trio but I'll talk more about that later.
- Other soil additives. I use 75% pH balanced soil, 12.5% perlite and 12.5% vermiculite. If you want to use perlite, make sure you sift out all the dust because that can cause problems.
- Nutrients. As I said, I use GH trio but there are tons of nutrients that will work. On the bottles, there will be a guide on how much to use, Start with a quarter of the recommended amount and then work your way up as they need it. You add the nutrients to the water when you water the plants. You can also grow in organic soil but I know nothing about that. Go simple with nutrients. DONT OVER DO IT.
- pH stuff. You'll need pH up, pH down and a meter to measure pH. I use the vivosun pH pen and I don't have problems with it but a lot of people say cheap pens don't work. pH paper strips will never break or not show the correct pH but it's hard to know the exact pH with them as they display colour rather than a number. When you water, you want the water to be a pH between 6.3 and 6.8 or as close to that as possible so measure it and add either pH up or pH down accordingly.
- Exhaust fan. I use a vivosun 4 inch inline fan which I like but a lot of people like the ac infinity ones. Depending on the size of your tent, you'll need a big or small fan. You want the air to exchange every few minutes so you'll need to calculate the size of your tent in cubic feet and check the cfm (cubic feet per minute and get a fan that works with your tent.
- If smell is an issue, you'll need 2 more things. A carbon filter for the Exhaust fan and you'll also need an inline fan for your intake. Obviously get a carbon filter that fits your exhaust fan (4 inch for 4 inch or 6 inch for 6 inch). Your intake fan needs to be significantly less strong as your exhaust fan. This is because you need negative pressure in your tent so that all of the air goes through your carbon filter. Also, your carbon filter lowers the cfm of your fan so you'll need to take that into account (you'll need an extra roughly 25% cfm on the fan if you use a carbon filter).
- Circulation fan. This is a fan you put in the tent to circulate air. You don't want this fan/s to be too strong or too weak. You want the leaves on the plant to blow around a tiny bit but not too much. Don't point a non-oscillating fan directly at a plant.
- Rh (relative humidity) and temperature monitor. Pretty self-explanatory.
- Heater and/or humidifier and/or dehumidifier if you want more control of your grow space. If you want these, you'll need a way to control them, inkbird has many controllers that work well.
- Grow pots. I suggest using grow bags as it allows the roots to breath better and it's much harder to overwater your plants with them. You want the pots to be 1 gallon per foot of height on your plants. So a 1 ft tall plant needs a 1 gallon pot. A 5 ft tall plant needs a 5 gallon pot.
- Some way to elevate the pot off the ground. Anything from jar lids in the corners to actual pot elevators, it doesn't really matter.
- A jewelers loupe for checking trichome colour.
That's mostly it. There's other stuff that's not necessary but will help.
I'm going to talk about the instructions for 1 photoperiod plant for simplicity but there's no reason you can't do the exact same thing for multiple.
Ok now here's the instructions:
GERMINATION:
Place the seed in a small cup like a shot glass and put it in the cupboard for 18 hours (keep it out of the light).If the seed hasn't sunk by now then tap it and see if it sinks. If not leave in until it does. Once it sinks, take a papertowel a wet it. Wring out to papertowel but leave a bit of water left (not wet but not dry). Fold the papertowel in half, and in half again (so quarters). Place the seed in the middle and fold over. Gently press around the seed to get rid of any air. Put in a plastic bag. Blow up the bag and then seal it. Put back in darkness for another 24 hours. Check if there is a 1 inch root coming out of it. If not leave it until there is. Mix up your soil and put it in a small pot. Poke your finger in the soil to make a small hole. Place sprout in it about 3/4 inches deep (too deep and it won't pop up and too shallow and you'll get seed cap or something like that). Put it in your tent under dim light. DONT TOUCH IT! I KNOW YOU WANT TO SEE IT BUT DONT. When the soil gets dry, use a spray bottle to lightly moisten the soil (the spray bottle is so that you don't agitate the soil.) The water you spray should be between 6.3 and 6.8 pH so balance it before you mist them. Now just wait until it pops out of the soil. Congrats! you germinated your seed (or you didn't and you fucked up)
EARLY VEGITATIVE STAGE:
Ok so you have this little plant that's about 1 inch tall (or you don't because you fucked up). At this stage, you want the rh to be 80%+ and the temperature to be around 80-86f or 27-30c. Set the timer for the light to 18 hours a day (it doesn't matter when the 18 hours is just make sure it gets 18 hours of light and 6 hours of dark per day). Keep misting it when the soil gets dry until it's a few inches tall, then you can start watering it normally. The nutrient bottles will say to use nutrients at this stage but don't, the plant doesn't need it and it will cause problems. Just water with pH balanced water for the first 3 weeks.
VEGITATIVE STAGE:
Your plant is 3 weeks old now, you're a dad (or mom, it doesn't matter). Keep the lights on 18 hours like before but lower the rh to 65%-75% and the temperature to 75-80f or 24-27c. You can now start to give your plant nutrients. Remember, start with 1/4 the recommended amount and work your way up as they need more. The company tells you to add too much because then you have to buy more and they make money. You can very easily give the plant too much water or too much nutrients. You want to water when the top few inches of the soil are dry to the touch. Mist the leaves with just water daily. Once the plant grows too big for it's pot, then transplant it into a bigger one. If you start to notice something is wrong with then look it up and see if you can fix it yourself. If you still see problems or you couldn't find out what the problem is then ask someone on here. If you ask properly then people will help you or they'll be dicks and they won't. Measure the amount of space your plant has to grow (not the height of the tent, the amount of space between the top of the pot and the light minus about a foot because you don't want the plant to get to close. Once your plant is have that height, move on to the flowering stage.
FLOWING STAGE:
Ok so you are now going to start growing buds. To do this, only give the plant 12 hours of light per day. You will now change the amount of nutrients you're using (once again, don't use full strength). Remember to pH balance your water. Lower the rh to 45-55% and the temperature to 70-75f or 20-24c. do not spray your plant with water at this stage or it might grow mold. Within a week, you will start to notice these white hairs coming off your plant (this means it is female and it is flowering which is good). If you see pollen sacs, the you have a male and you need to restart (ask someone on the forum first before you chuck the plant). Keep doing the same thing for another 6 weeks or so. Depending on what the nutrients say, you might need to add more of something. At a certain point, you will start to see the white hairs turn orange. This means that you are coming to the end of this grow. Use the jewelers loupe to check the colour of the trichomes (the little crystal type things). When checking trichome colour, you want to look at the trichomes on the buds rather than the leaves. Once the trichomes turn about 50% milky, stop giving your plant nutrients and pH solutions. Just give them water. Keep checking the trichome colour. Once you start to see amber coloured trichomes, the plant is ready to harvest. Some people like it at 5% amber trichomes, some people like it at 80% amber trichomes. The more amber, the bigger the harvest but also the lower the thc % and the more of a relaxing high you'll get.
HARVEST:
If you find it easy to keep rh low, trim the leaves off of the buds. If you struggle with keeping rh low, then trim the leaves off of the buds after the are dried. To dry the buds, hang them upside down in a dark tent or cupboard. Ideal rh for drying is 40-50% and ideal temperature is below 70f or 21c. Don't blow fans at the buds. When the buds easily snap off the stems, they are done drying and ready for curing.
CURING:
For curing you need to put the buds in jars. for the first week or 2, open the jars daily or more and feel the buds. If they are too wet, the leave the jars open for a few minutes until they are dryer. If they are too dry then just leave them. If they continue to be too dry you can add a small piece of orange peel to the jars for about an hour or so to moisten them up again. After a few weeks, you won't have to open the jars as much. This is the hardest stage for me because you so close to being done but you're not done yet. After 3 weeks you may smoke it. Up to 3 months, the longer you wait the better.
I was not planning on this being that long but I was bored and I was fun to write all that so there you go.
Feel free to ask any questions.
If anyone else disagrees, you can correct me.