clockworx
- Posts
- 953
- Reactions
- 3,065
- Joined
- Aug 27, 2013
- Points
- 243
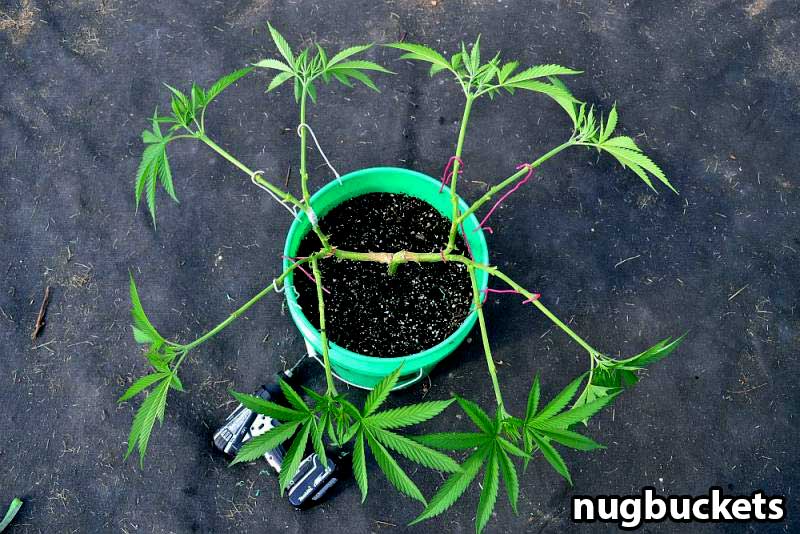
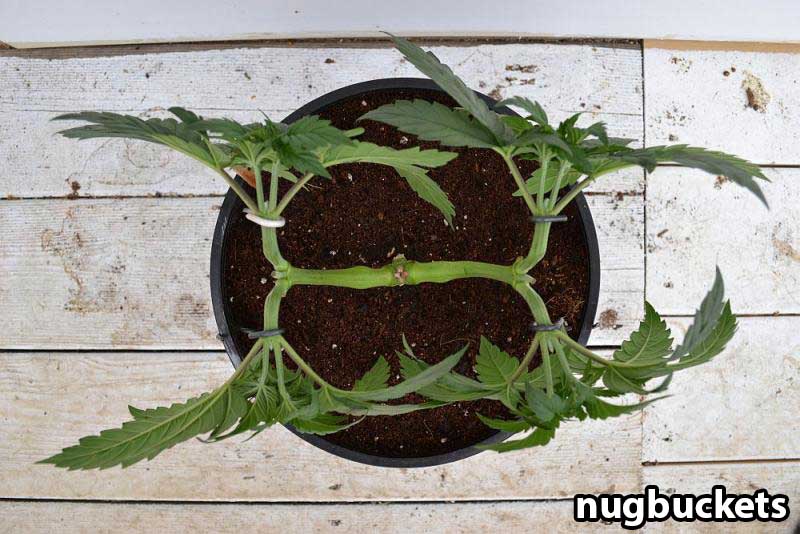
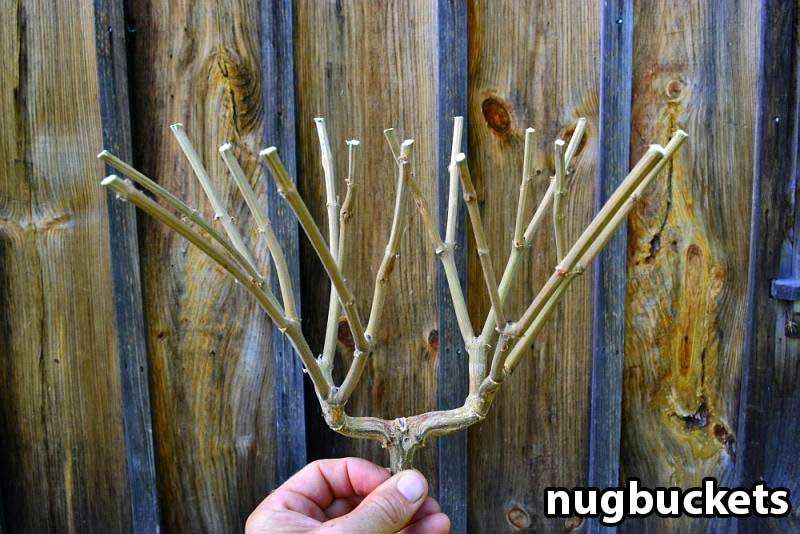
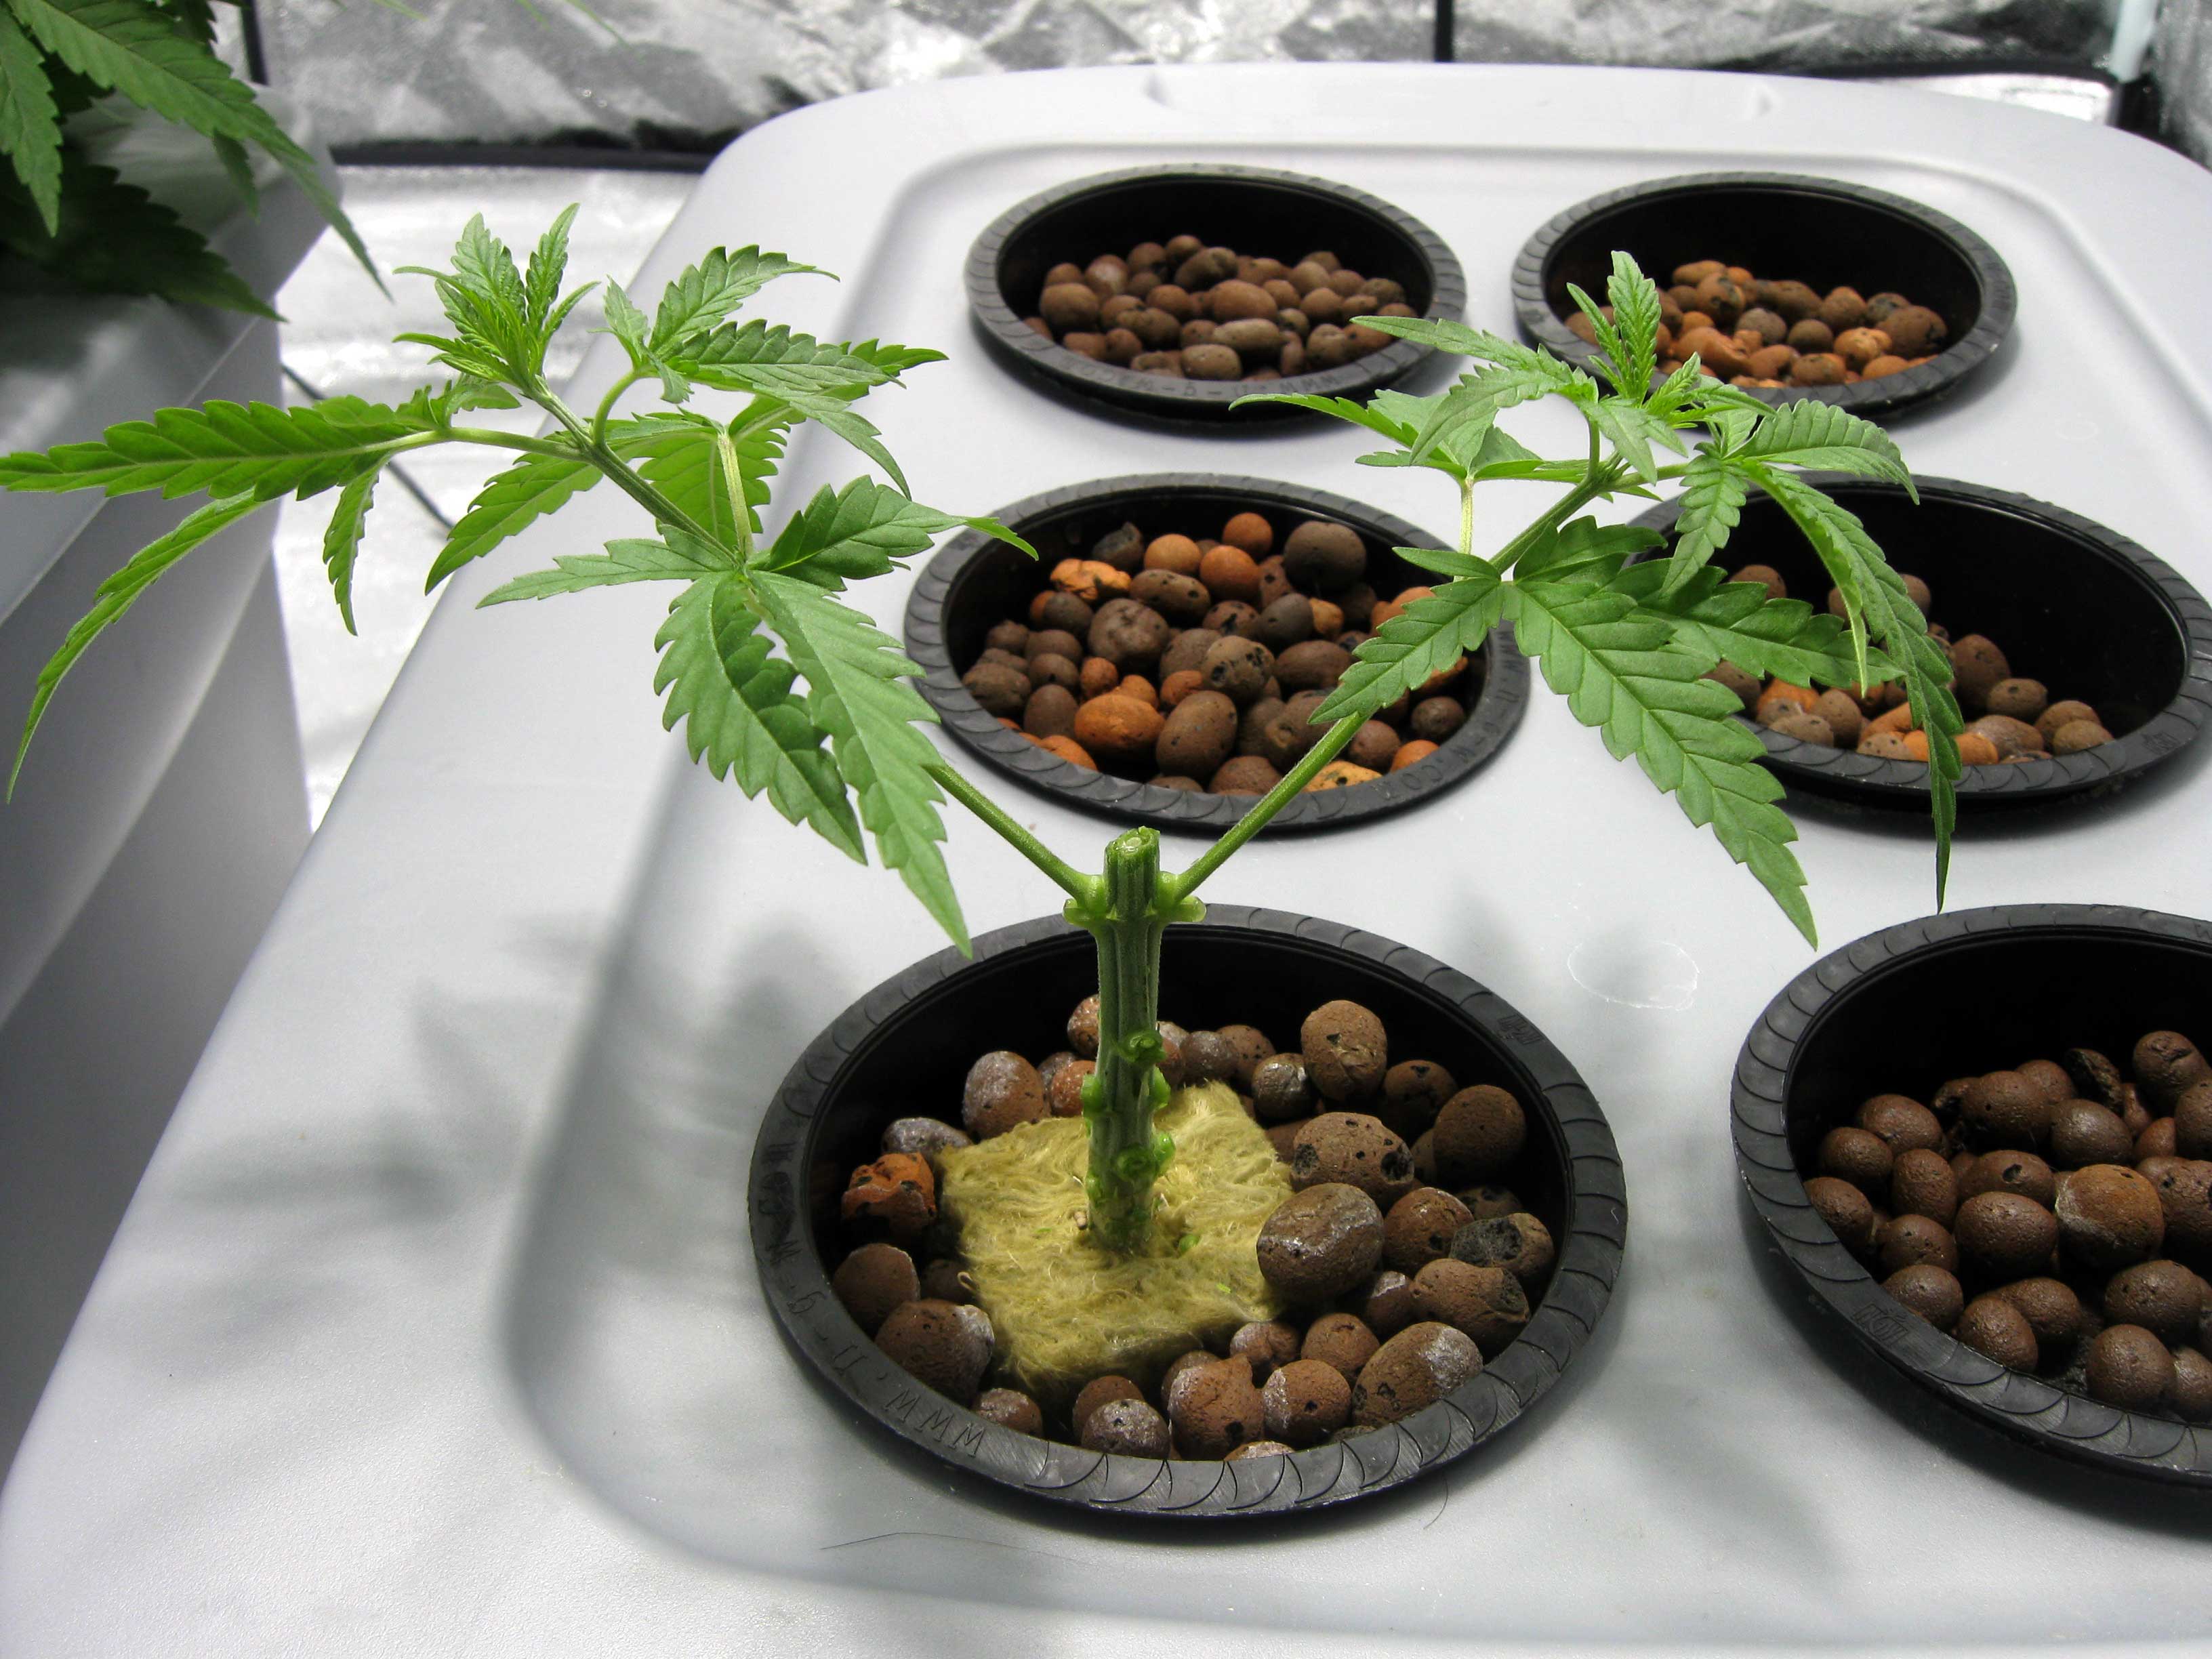
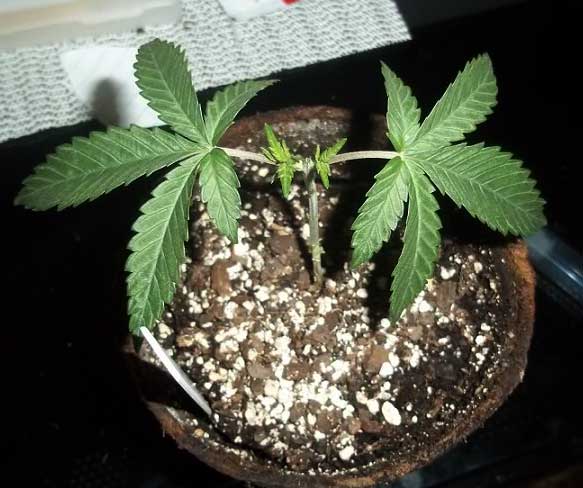
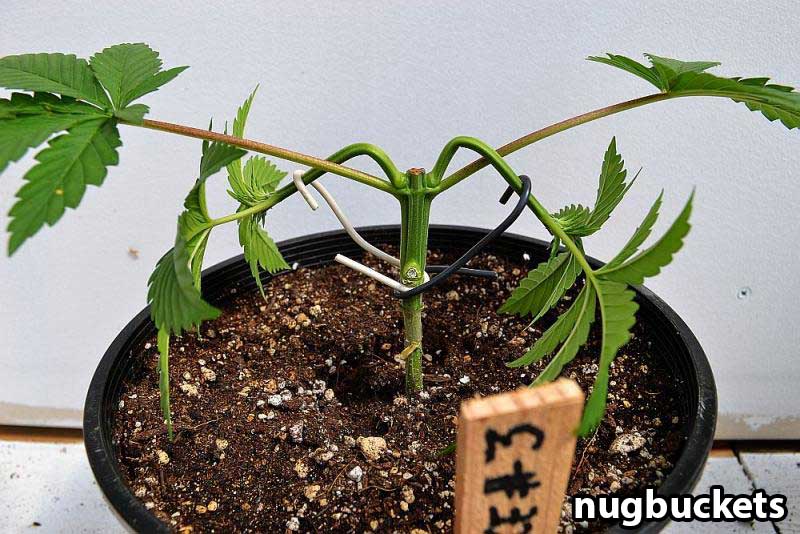
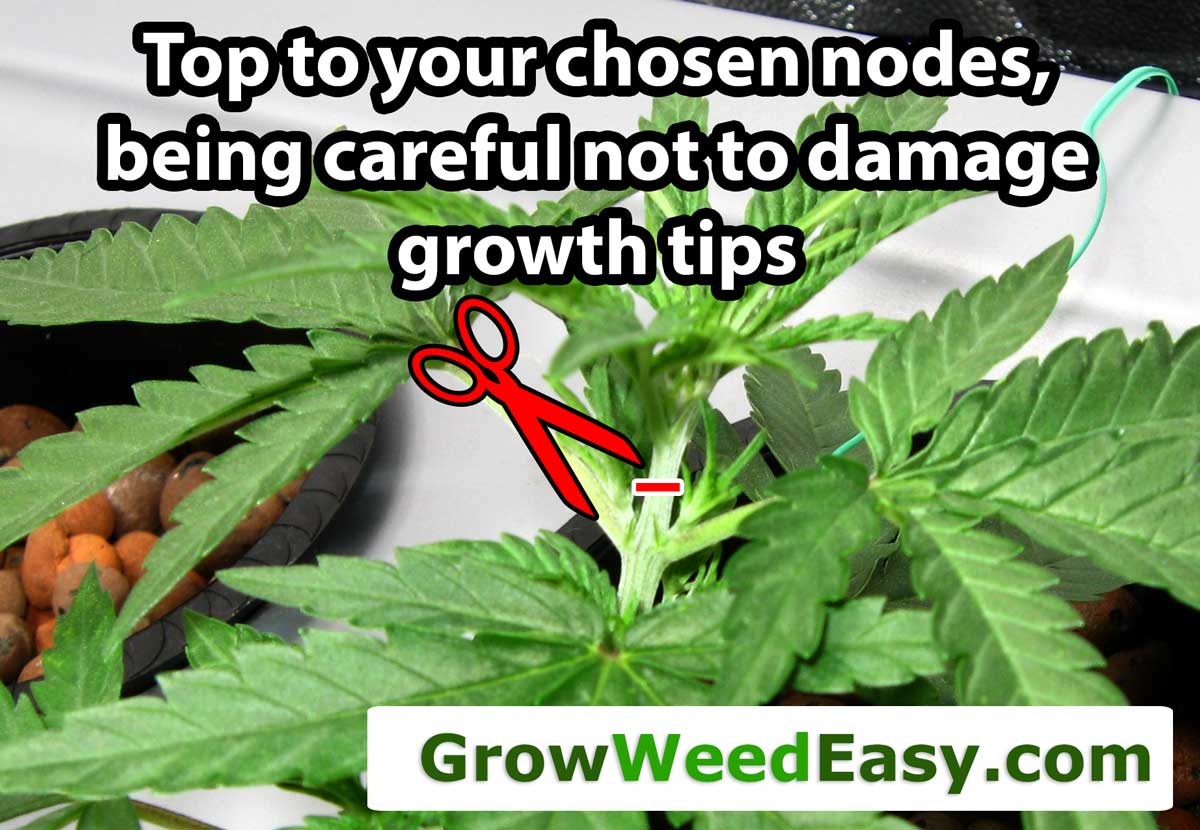
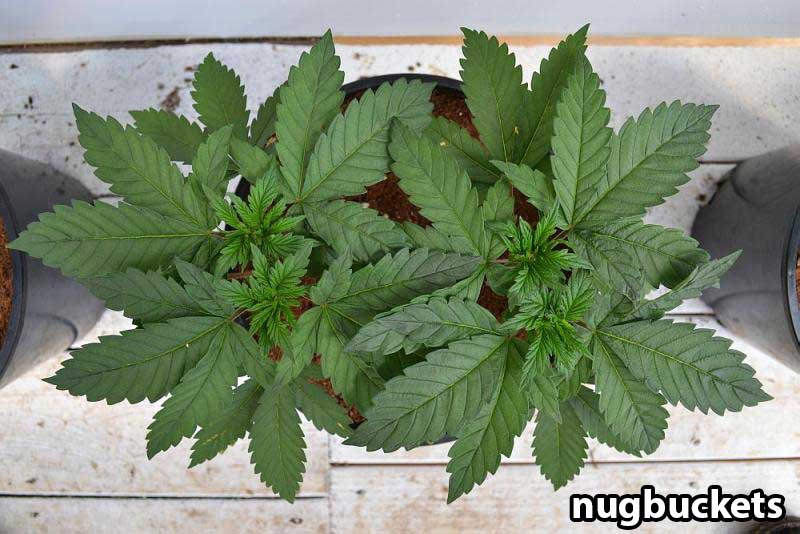
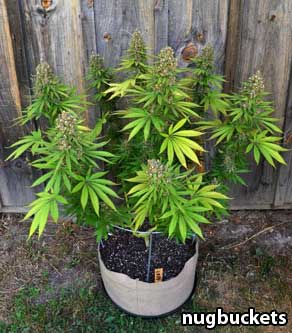
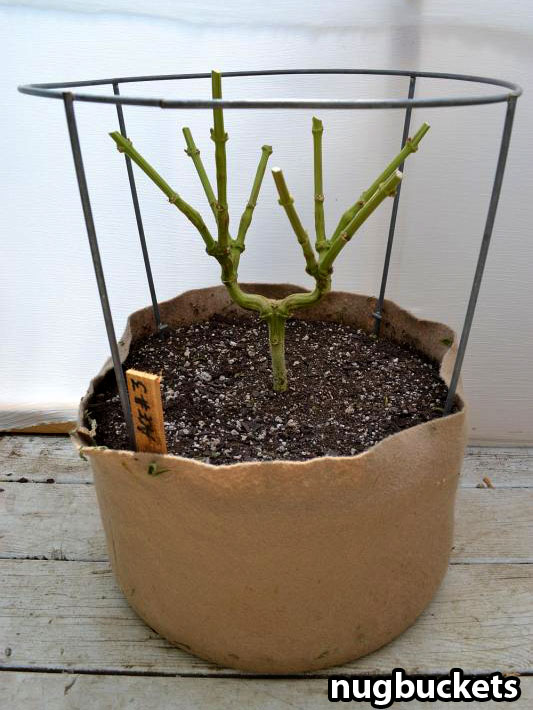
"Main-Lining"
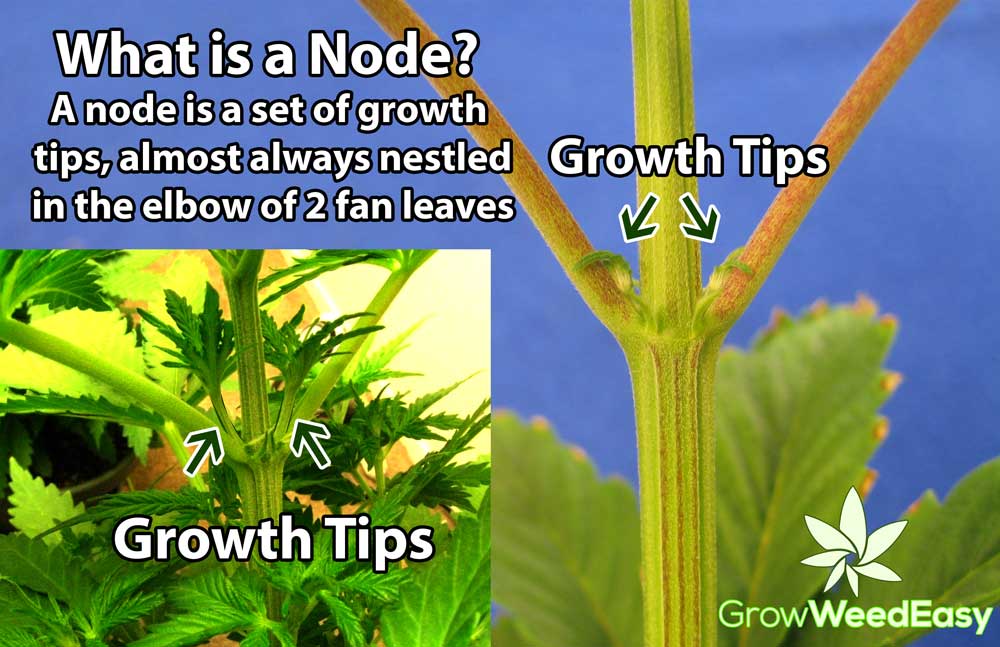
The act of training a cannabis plant to form a "hub" or "manifold" off a single node, creating a center for equal energy distribution from the roots to each cola.

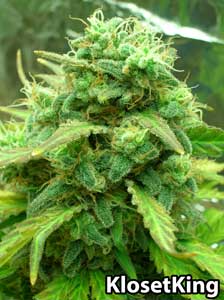
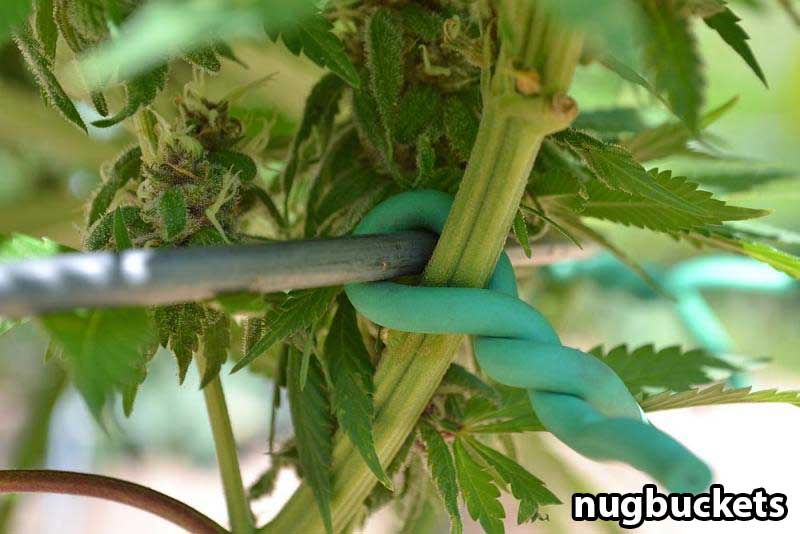
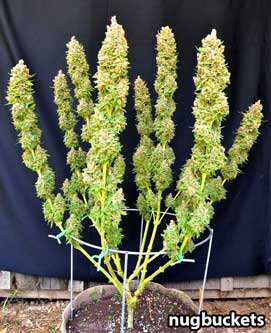
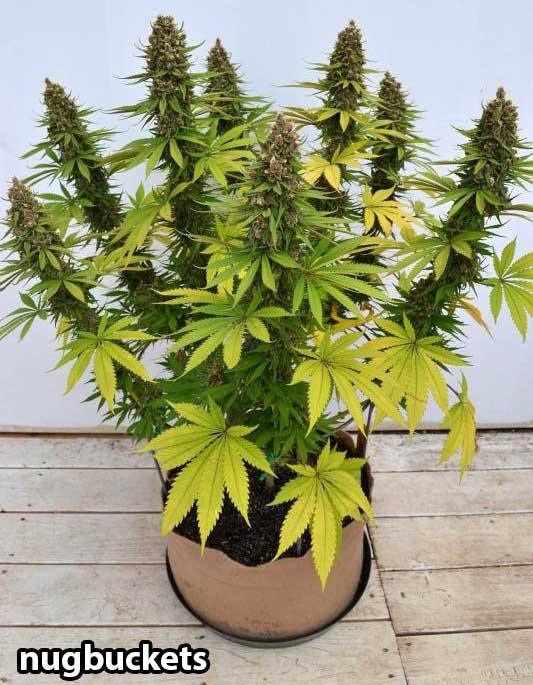
See that main-lined marijuana plant at harvest.... Nothing but huge, dense buds!

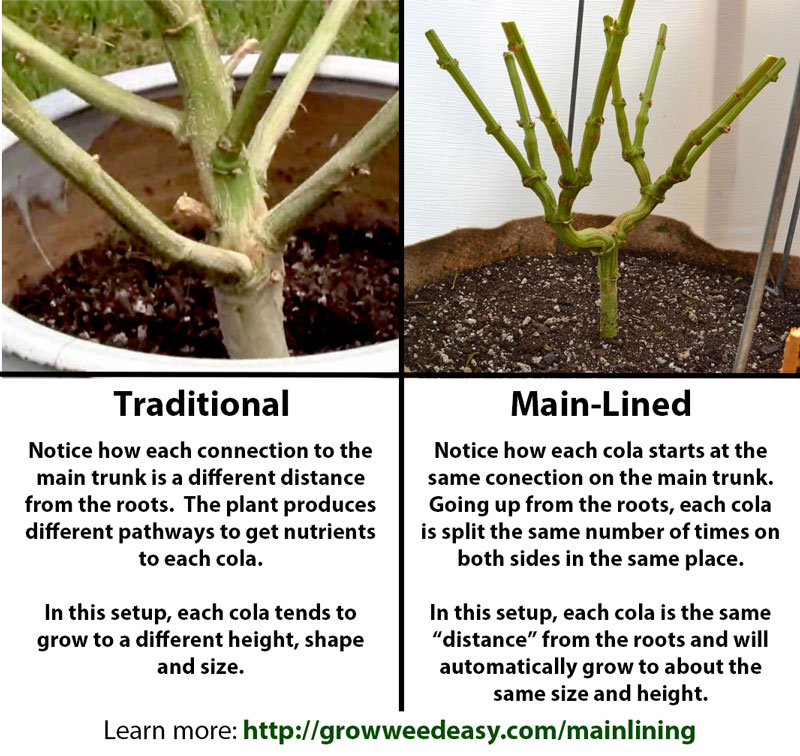
Hub: A place or thing that forms the effective center of an activity, region, or network.
Manifold: A pipe or chamber branching into several openings, "the pipeline manifold"
 ..
..
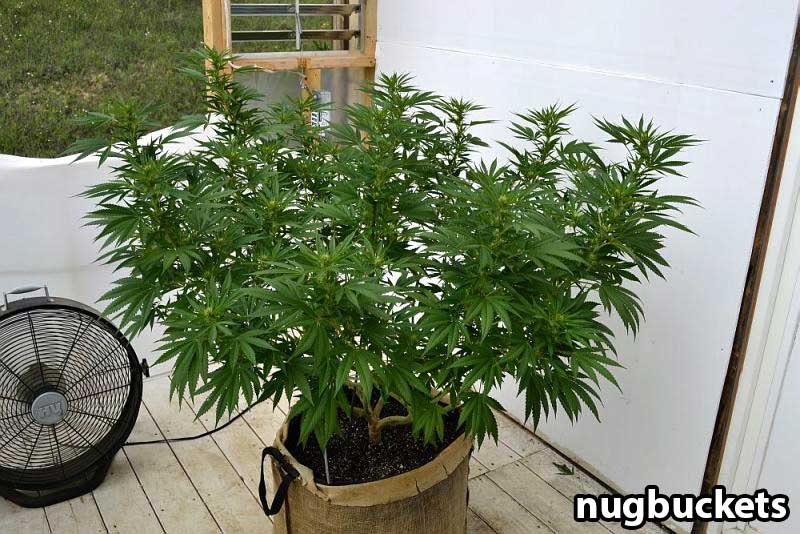
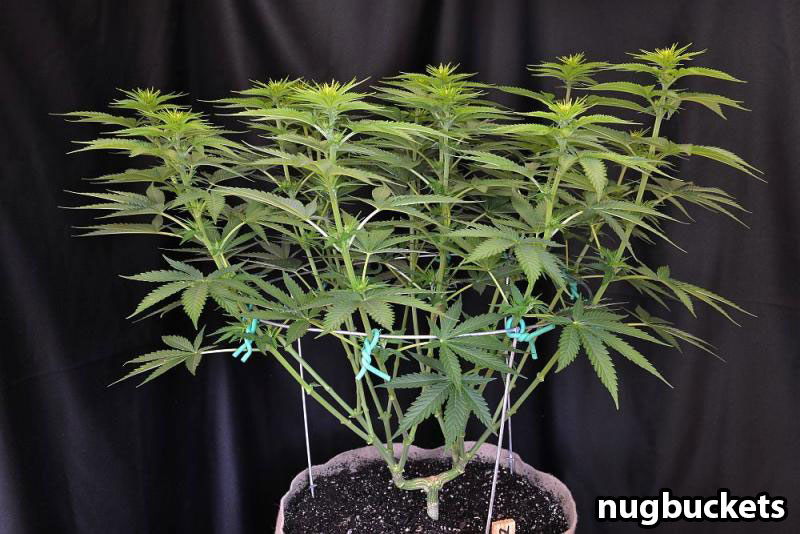
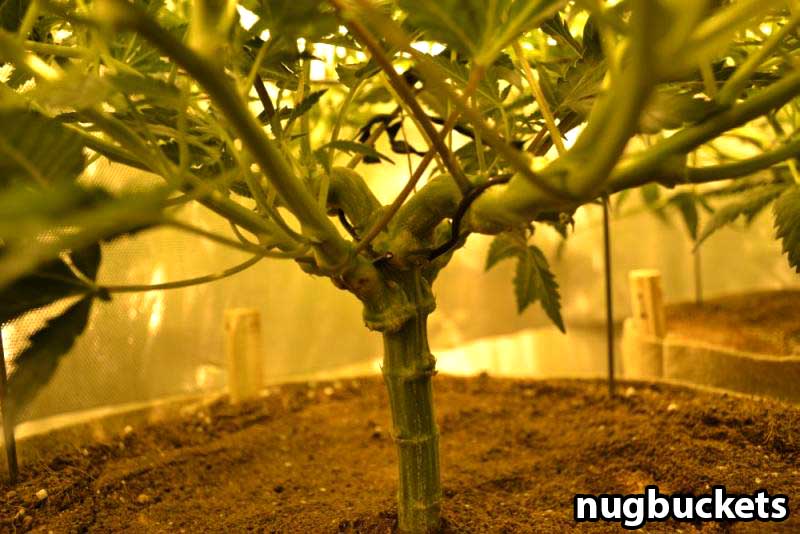
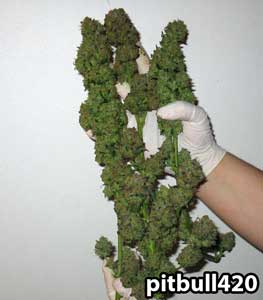
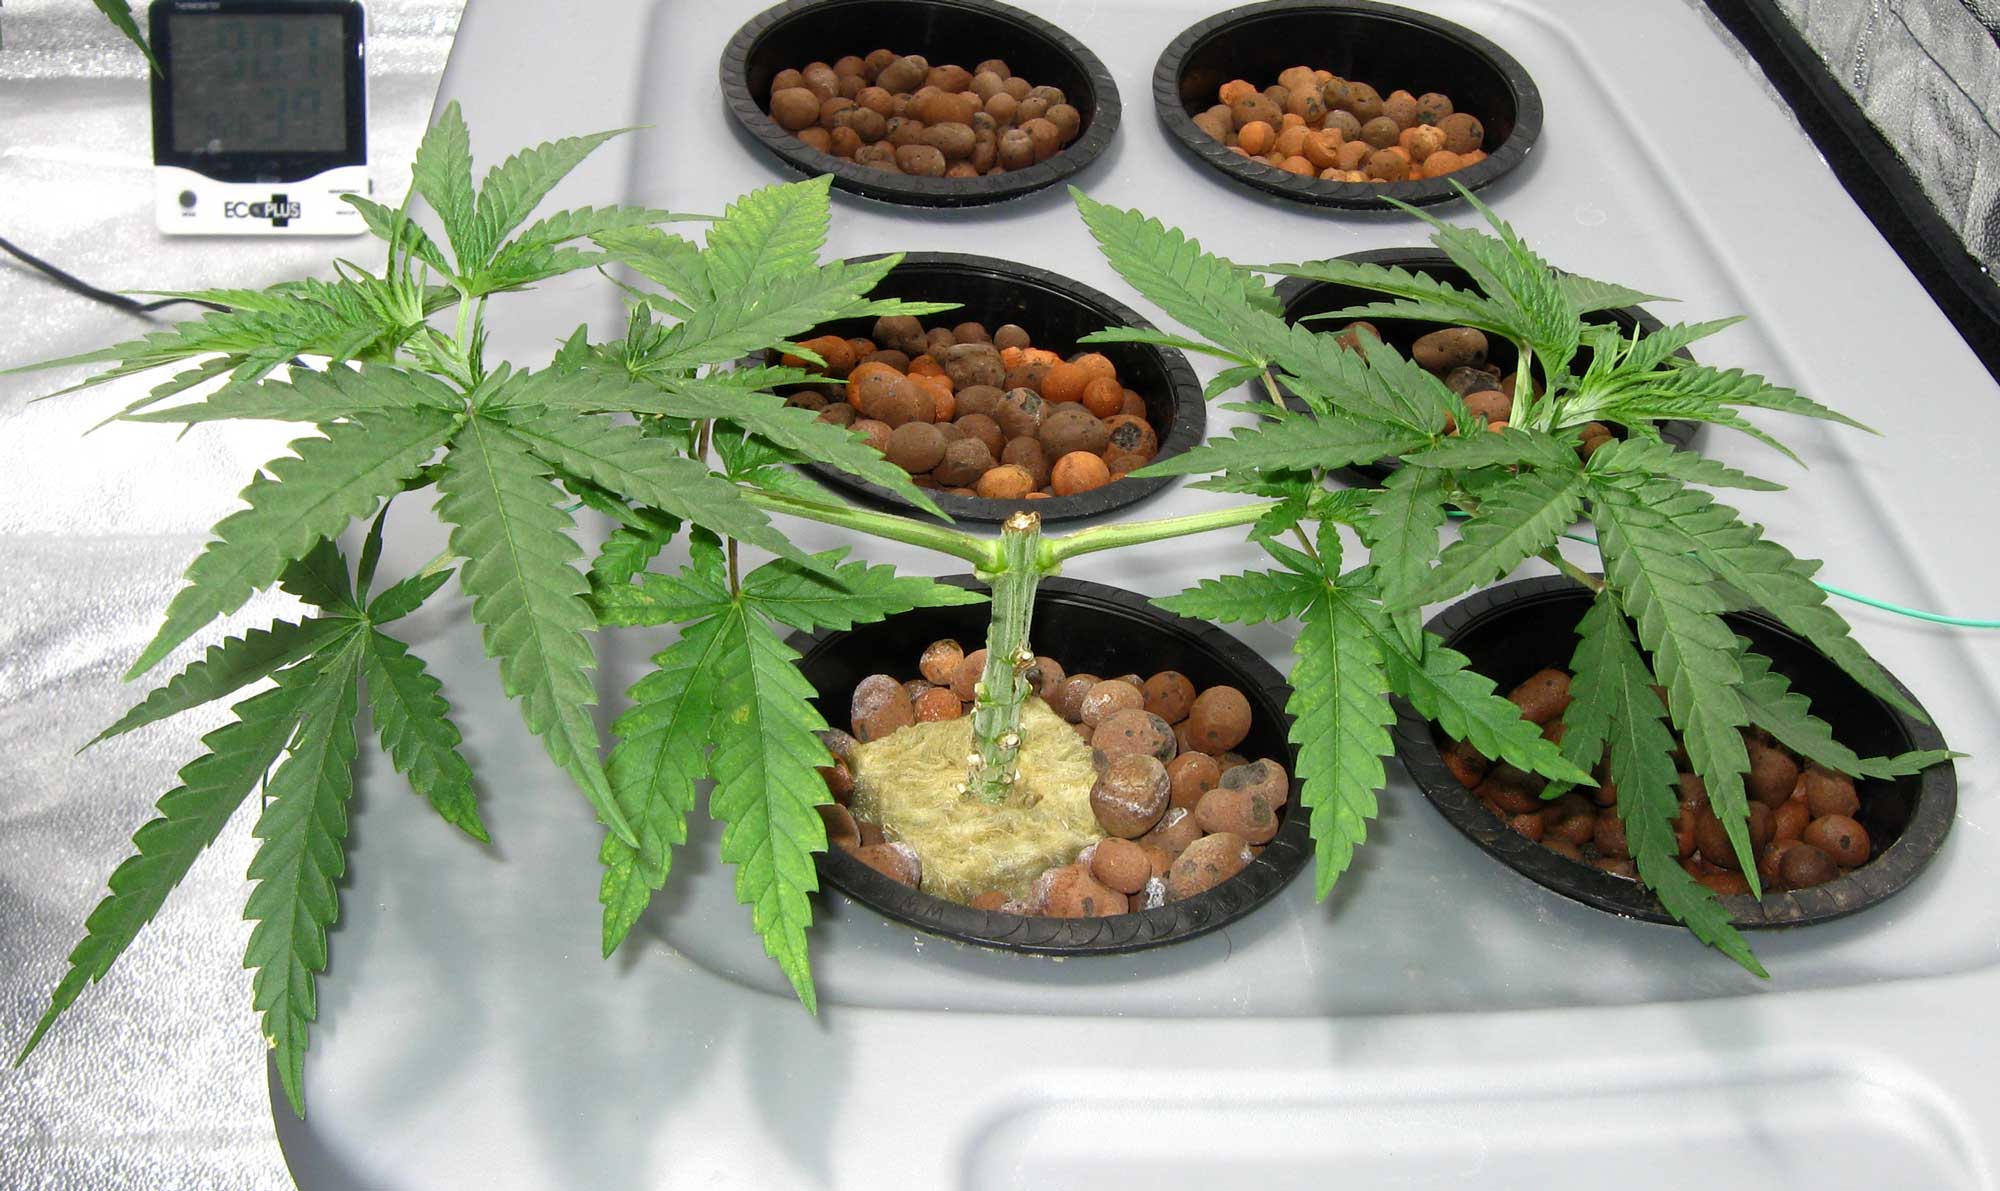
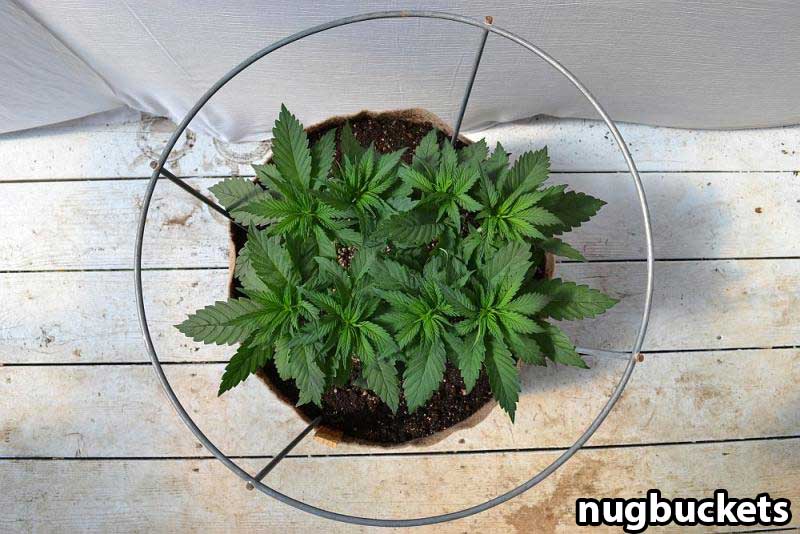
The result of main-lining marijuana is an even canopy and bigger yields with little extra effort.
No more larfy popcorn buds stealing energy away from the main colas!
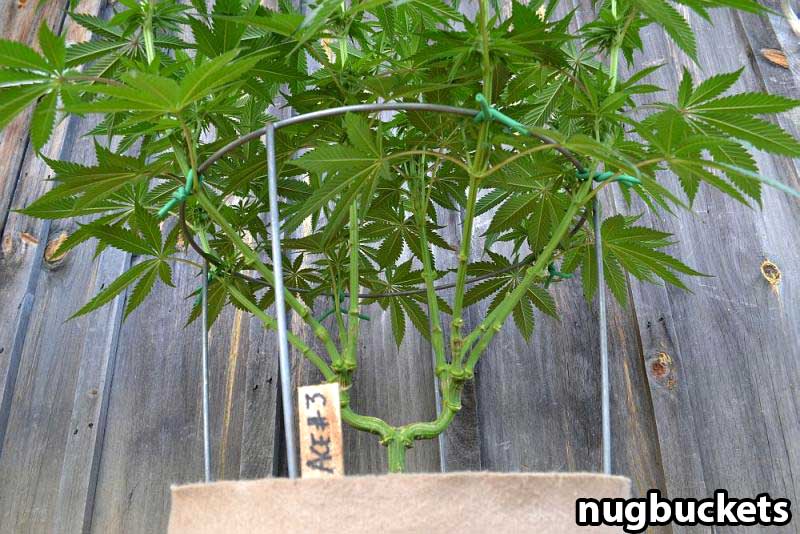
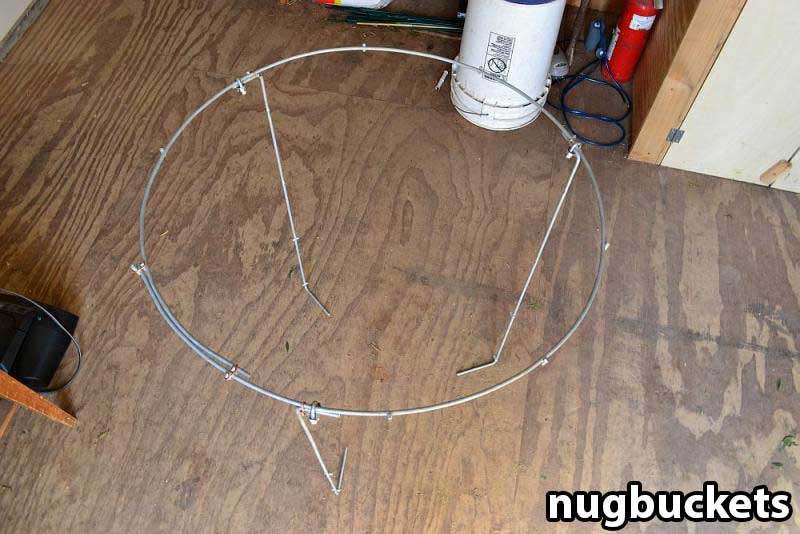
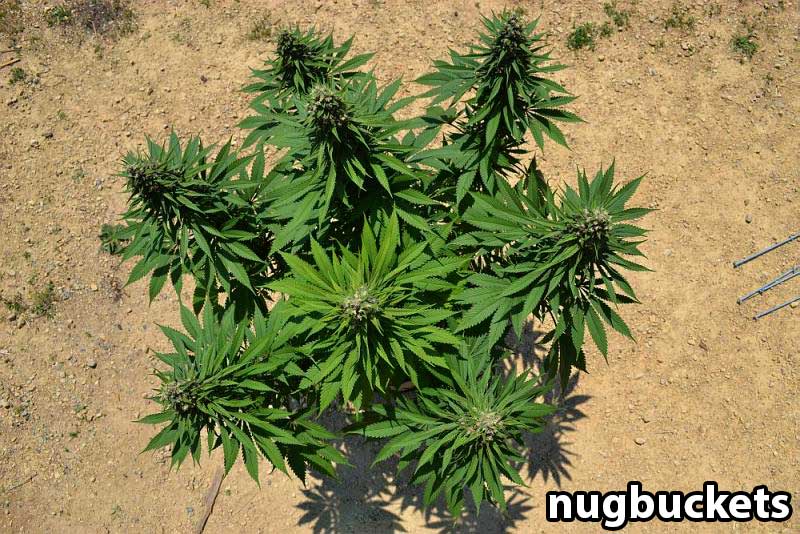
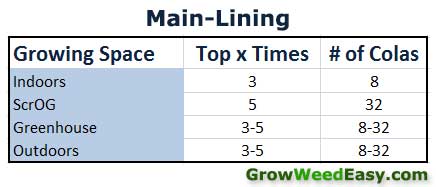
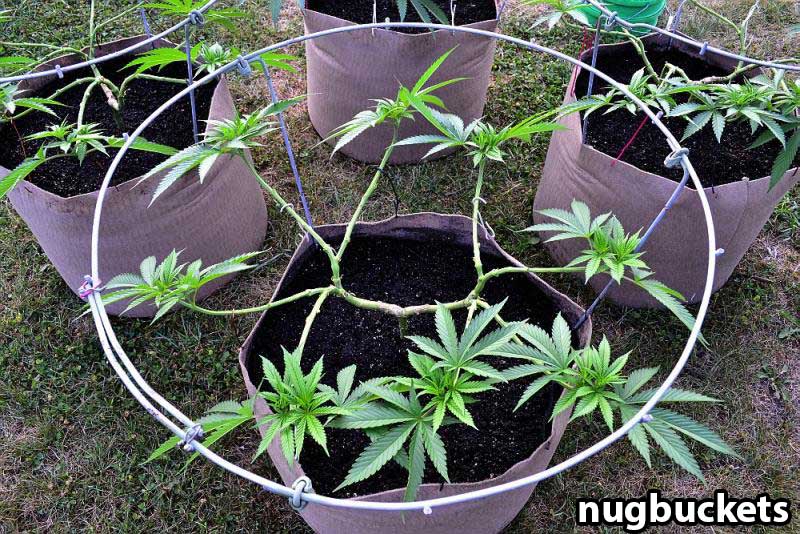
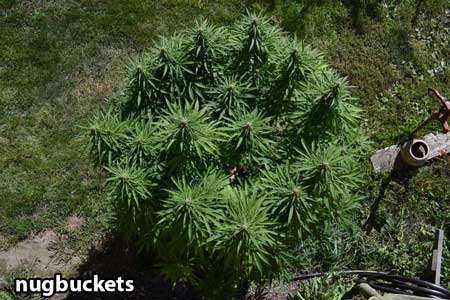
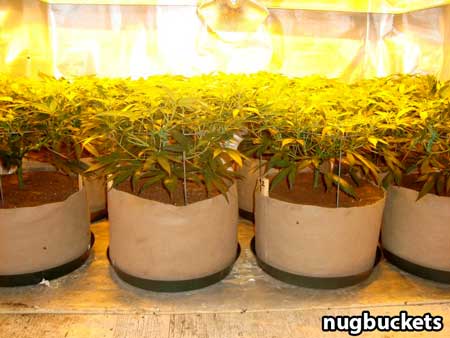
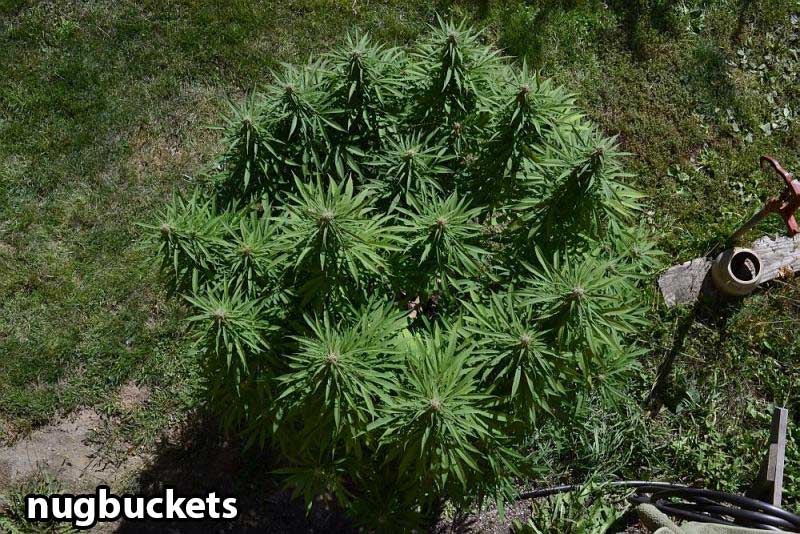
Here's a few more marijuana main-lining pictures so you can see what I mean about the effortlessly even canopy. Main-lining is effective for increasing yields both indoors and outdoors.
Outdoors - Greater stealth & control
Indoors - Easy flat canopies & bigger yields with the same grow lights
The act of training a cannabis plant to form a "hub" or "manifold" off a single node, creating a center for equal energy distribution from the roots to each cola.

See that main-lined marijuana plant at harvest.... Nothing but huge, dense buds!

Hub: A place or thing that forms the effective center of an activity, region, or network.
Manifold: A pipe or chamber branching into several openings, "the pipeline manifold"
 ..
..The result of main-lining marijuana is an even canopy and bigger yields with little extra effort.
No more larfy popcorn buds stealing energy away from the main colas!
Here's a few more marijuana main-lining pictures so you can see what I mean about the effortlessly even canopy. Main-lining is effective for increasing yields both indoors and outdoors.
Outdoors - Greater stealth & control
Indoors - Easy flat canopies & bigger yields with the same grow lights