Homesteader
- Posts
- 3,479
- Reactions
- 7,548
- Joined
- Dec 7, 2015
- Points
- 263
I am lacking a few lights for my room and decided I would share how I did it. Normally I make the entire enclosure out of metal but I am going to use some red oak this time and hope that it is a little easier to work with and look a bit nicer. I kind have the basic design and plan in my head but just going to go with it and see what I end up with. I am going to using three HLG-185-C700B. The heat sinks are 18" long and 4" wide. I bought a bunch from Heatsink USA but you could get them to cut just about any size you want.
The lights are boards I had made a few years ago. They have 9 white osram 3000k and 3 660nm red osram diodes in the middle. I have been really happy with how these osrams have held up the past few years considering I run these fairly hot year round. Well here it is.
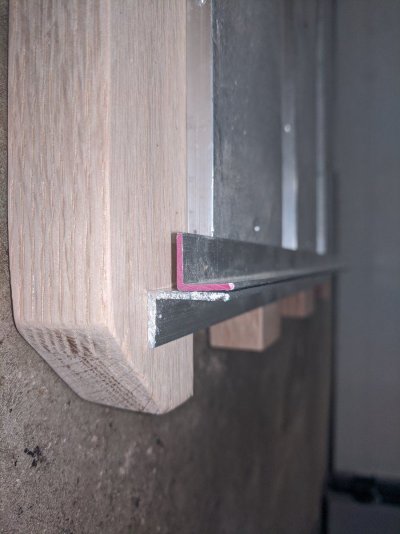
I cut and shaped the oak and sanded the edges down. Going to cut a few small angle aluminum to secure the heat sinks in place for the next step and give the aluminum a quick sanding with fine grit and clean it before mounting any of the boards.
The lights are boards I had made a few years ago. They have 9 white osram 3000k and 3 660nm red osram diodes in the middle. I have been really happy with how these osrams have held up the past few years considering I run these fairly hot year round. Well here it is.
I cut and shaped the oak and sanded the edges down. Going to cut a few small angle aluminum to secure the heat sinks in place for the next step and give the aluminum a quick sanding with fine grit and clean it before mounting any of the boards.
Attachments


Last edited: