AnselAdams
Supporter
- Posts
- 1,262
- Reactions
- 2,639
- Joined
- Jul 8, 2018
- Points
- 263
I enjoyed my 1st grow so much (now in it's 8th week) that i have decided to do it again. However i will first need to make some changes to my gear so that i don't have to work so hard.
Let me start by describing my setup. I don't sell any of this stuff nor do i receive any assistance, gifts, etc. It is just the shit i have decided to use after doing a lot of research. I have provided the urls for information only.
The Grow box.
SuperStar 3.0 LED Grow Cabinet-LED Stealth Grow box
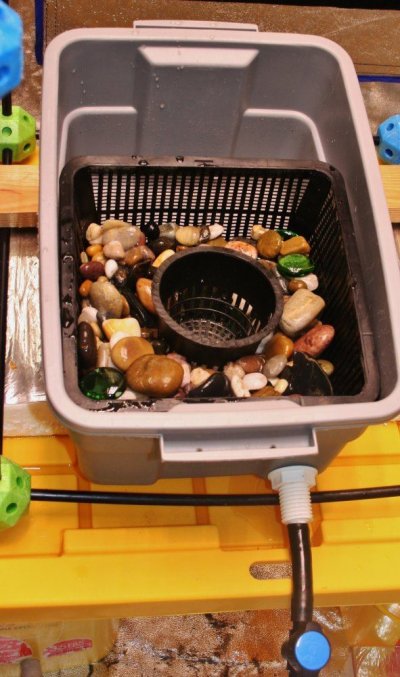
Self-watering DWC Hydroponic Bubbler
EcoPlus 793 GPH / 3000 LPH, 18W
Active Aqua AACH25HP Hydroponic Water Chiller Cooling System 1/4HP
Bluelab Guardian Monitor Connect Version
O2 Grow Dissolved Oxygen Emitter 2010 - 10 gallons
Hydro-Logic 31040 300-GPD Stealth-R0300 Reverse Osmosis Filter
Norwesco Horizontal Leg Tank, 35 gal.
Data Logging Dissolved Oxygen Meter
Kind LED K3 Series 2 XL300 LED Grow Light
And so it begins....
View attachment 855700


View attachment 855700


Let me start by describing my setup. I don't sell any of this stuff nor do i receive any assistance, gifts, etc. It is just the shit i have decided to use after doing a lot of research. I have provided the urls for information only.
The Grow box.
SuperStar 3.0 LED Grow Cabinet-LED Stealth Grow box
Self-watering DWC Hydroponic Bubbler
EcoPlus 793 GPH / 3000 LPH, 18W
Active Aqua AACH25HP Hydroponic Water Chiller Cooling System 1/4HP
Bluelab Guardian Monitor Connect Version
O2 Grow Dissolved Oxygen Emitter 2010 - 10 gallons
Hydro-Logic 31040 300-GPD Stealth-R0300 Reverse Osmosis Filter
Norwesco Horizontal Leg Tank, 35 gal.
Data Logging Dissolved Oxygen Meter
Kind LED K3 Series 2 XL300 LED Grow Light
And so it begins....
View attachment 855700
View attachment 855700
Attachments


Last edited: